Real-time Garage Door Control with a LiftMaster and PubNub
Household appliances are not the kind of thing consumers really get excited about; they’re no iPhone. But thanks to the Internet of Things (IoT), that seems to be changing. It is now easy, inexpensive, and a lot more fun to create connected devices in every area of life, from cars and homes to commercial, industrial, and medical applications.
Two of these areas, the Smart Car and Smart Home, are getting a lot of attention. Smart Cars are able to communicate their location, perform tasks autonomously, interact with other vehicles, and other traffic features which keep drivers informed. At the same time, Smart Home capabilities are improving exponentially year over year. When Smart Home thermostats came onto the market years ago, there were many doubters: is the device cost worth the benefits?
Crowdsourcing has played a big part in these quality of life upgrades, and all without the exponential cost.
In this article, we create a service for Real-time Garage Door Control using LiftMaster, PubNub and Node.js. With 124 lines of JavaScript, we create an IoT component that is easily extensible to new applications, capabilities and interactions with Smart Cars, Wearable devices, and anything else we haven’t thought of yet. If you don’t have a LiftMaster-compatible Garage Door opener, don’t fret – the patterns and techniques we use will be easily adaptable to other devices (or even your own custom-built integration).
Going back to the context of IoT, there are 3 primary requirements that come to mind. The first is high availability. For services that provide infrastructure to homes, cars, and commercial and industrial applications, there can be no downtime. Secondly, high performance is a must. When coordinating activities between vehicles or other location-based devices, response time is critical for user experience and building trust. Lastly and perhaps most importantly, high security is essential. As IoT services transport payloads for everything from vehicle and medical device control to home access, there must be clear capabilities for locking down and controlling access to authorized users and applications.
These 3 requirements, Availability, Performance, and Security, are exactly where the PubNub Data Stream Network comes into the picture. PubNub is a global data stream network that provides “always-on” connectivity to just about any device with an internet connection (there are now over 70+ SDKs for a huge range of programming languages and platforms). PubNub’s Publish-Subscribe messaging provides the mechanism for secure channels in your application, where servers and devices can publish and subscribe to structured data message streams in real time: messages propagate worldwide in under a quarter of a second (250ms for the performance enthusiasts out there).
So to summarize, in this article, we’ll be making your garage do this:
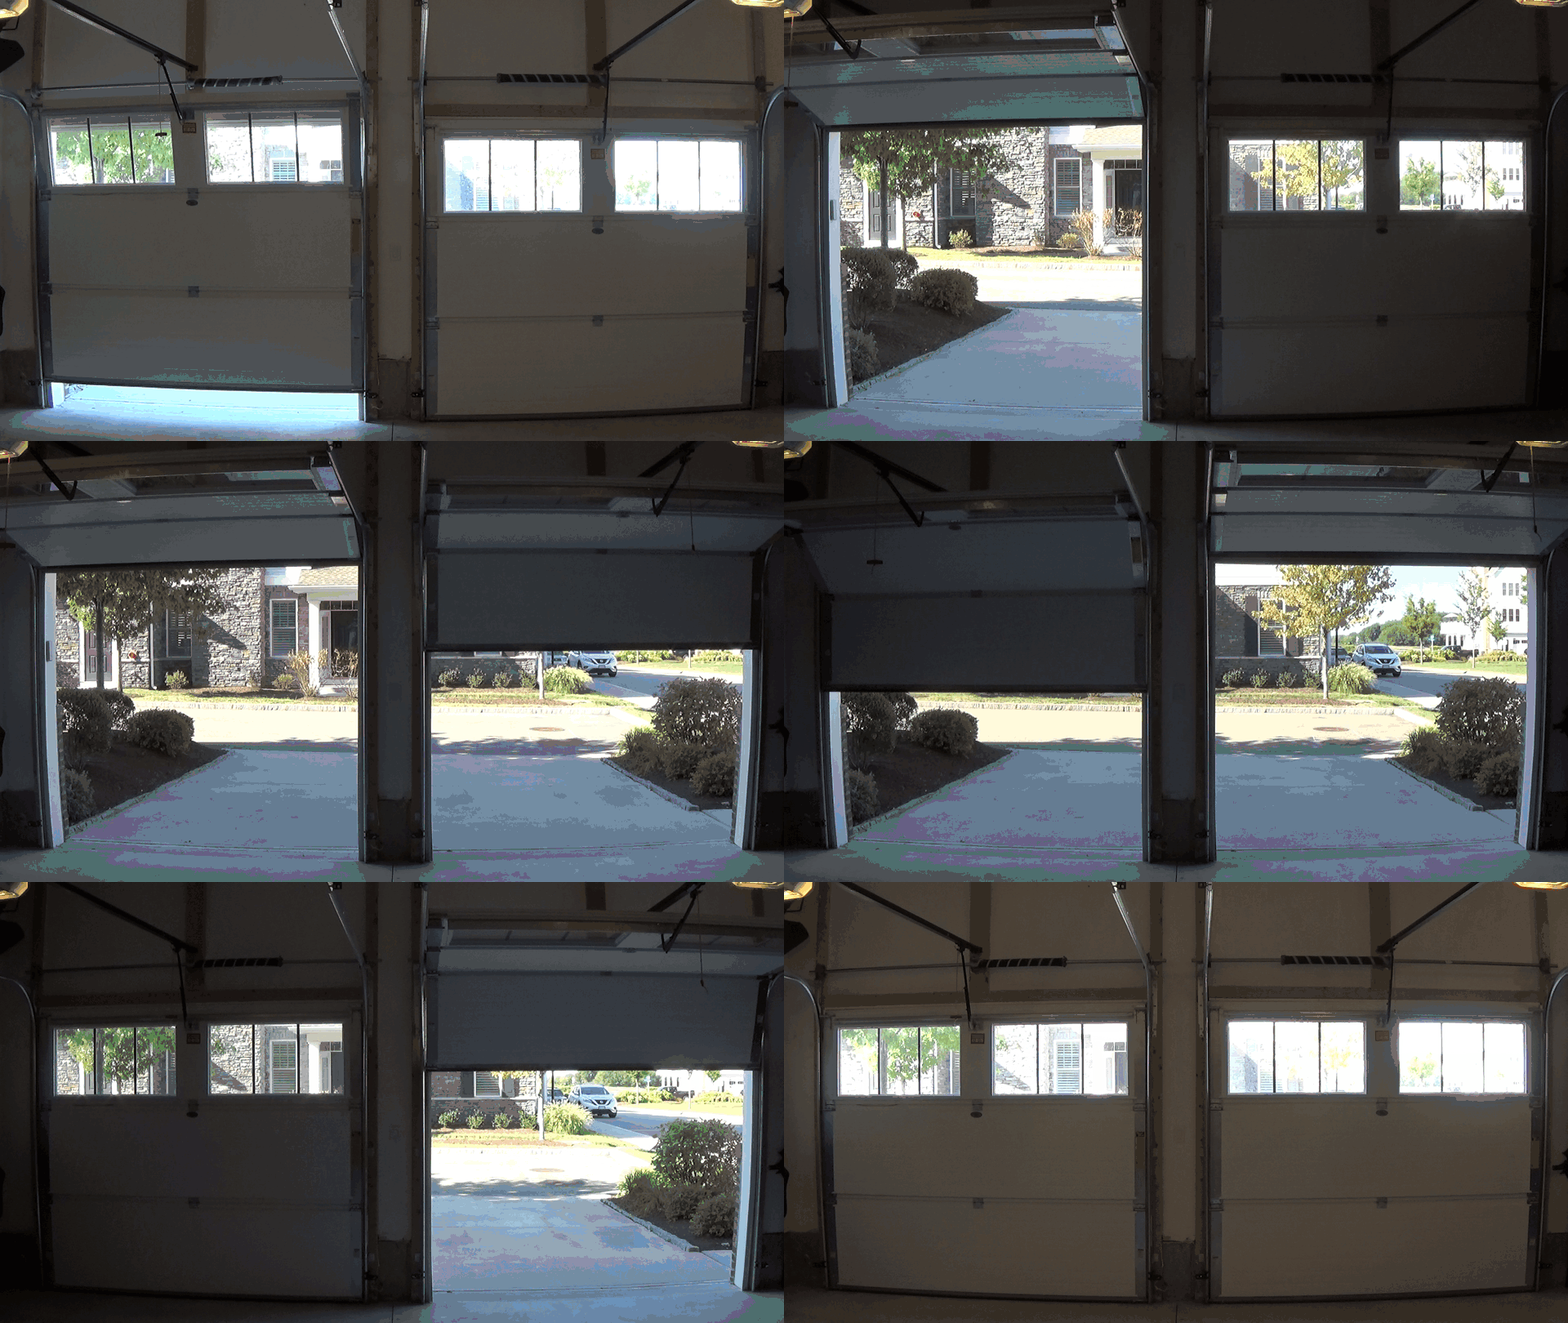
Well, maybe not exactly like that. But you get the idea…
System Prerequisites
Here’s a rough sketch of what we’ll need:
- PubNub account. We’ll use PubNub as the integration layer between the MyQ service and all the other components we’ll be building.
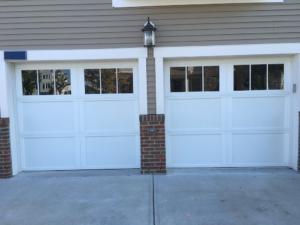
- Garage Door(s). Or not! You can hook up the opener itself to whatever you like, and this JavaScript won’t mind.
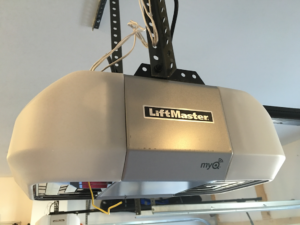
- LiftMaster Garage Door Opener(s) with MyQ support. The thing that does the magic that makes the doors go up and down.
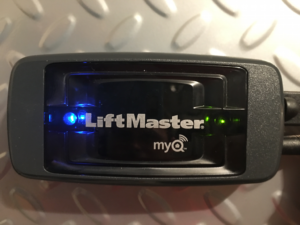
- LiftMaster MyQ Bridge. This is optional (for doors without native WiFi support), so you might not need it in your case.
- LiftMaster MyQ Account. This account provides the web management API for connected garage door(s) features.
- Node.js liftmaster module. This Node.js module bridges between our Node.js app and the LiftMaster MyQ API.
- The app running on Node.js. Our 124 lines of JavaScript code running on a node-enabled server.
Installing the Garage Door Opener
We are good, but not that good! You’ll probably want to find a professional to help you with this one.
Once you have the garage door openers all set, follow the steps in the instruction manual to connect them to your home WiFi or a MyQ Bridge and set up your LiftMaster MyQ account. In our case, we just plugged the bridge into our home router, pushed a button on each opener for discovery, and configured the doors in the MyQ Account in just about 15 minutes.
Installing the JavaScript Prerequisites
If you’re handy with node and npm, this should be a snap:
npm install liftmaster
npm install pubnub
npm install underscore
You were probably already expecting liftmaster and pubnub. If you’re not familiar with it, the underscore module by the Underscore.js project provides essential functions for writing tidy functional JavaScript code.
Liftmaster JavaScript API
The liftmaster module was created by chadsmith on GitHub, and is not affiliated with LiftMaster in any way. We provide this sample application in the true maker spirit. If you are concerned about the risks, we won’t blame you if you decide to try something else. Perhaps soldering a Tessel, Arduino or Raspberry Pi to your existing garage door opener button and writing a custom API would be more your style? Awesome, that works too!
PubNub JavaScript API
PubNub plays together really well with Node.js because the PubNub Node.js SDK (part of the PubNub JavaScript SDK family) is extremely robust and has been battle-tested over the years across a huge number of mobile and backend installations. The SDK is currently on its 4th major release, which features a number of improvements such as isomorphic JavaScript, new network components, unified message/presence/status notifiers, and much more.
The PubNub JavaScript SDK is distributed via Bower or the PubNub CDN (for Web) and NPM (for Node), so it’s easy to integrate with your application using the native mechanism for your platform. In our case, it’s as easy as npm install pubnub.
One thing to keep in mind for this application: the Garage Door service we implement in this article uses the PubNub JS API v4, but the user interface in the upcoming article uses the v3 API (since it needs the AngularJS API, which still runs on v3). We expect the AngularJS API to be v4-compatible soon. In the meantime, please stay alert when jumping between the backend and frontend JS code!
PubNub Developer Keys
The first things you’ll need before you can create a real-time application with PubNub are publish and subscribe keys. If you haven’t already, you can create an account, get your keys and be ready to use the PubNub network in less than 60 seconds.
Step 1: go to the signup form.
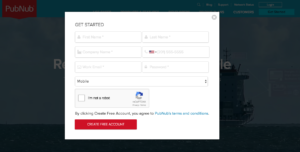
Step 2: create a new application, including publish and subscribe keys.
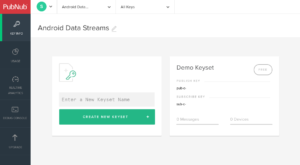
The publish and subscribe keys look like UUIDs and start with “pub-c-” and “sub-c-” prefixes respectively. Keep these handy – you’ll need to plug them in when initializing the PubNub object in your JavaScript application.
Step 3: make sure the application corresponding to your publish and subscribe key has the Presence add-on enabled.
That’s it, nicely done!
Overview
Let’s look at the application at the high level before we dive in:
- The Garage Doors are connected to the LiftMaster MyQ API via the bridge (or their internal WiFi connection, if applicable).
- Our JavaScript code continuously queries the LiftMaster API, sends the current status to PubNub, and bridges incoming control messages from PubNub to the appropriate Garage Door.
- The PubNub Service provides channels for connecting our components, as well as a Presence feature that allows us to store the device state as custom attributes in the channel membership.
- Any Additional Components will be able to subscribe to door status and/or send device control commands to the PubNub channels (if we let them).
If all we wanted to do was make the doors go up and down on command, we probably wouldn’t need a data stream integration layer. However, as soon as we start connecting more and more devices and expect them to be able to talk to each other, that’s where PubNub is the big win. PubNub provides the standard APIs, patterns and security that we can use to implement a solution that scales to thousands and millions of devices.
Diving into the Code
You’ll want to grab these 124 lines of JavaScript and save them to a file, say, garage.js.
For your convenience, this code is also available as a Gist on GitHub.
var CTRL_CHAN, DOOR_STATES, HOME_CHAN, LIFTMASTER_PASSWORD, LIFTMASTER_USERNAME,
MyQ, PUB_KEY, PubNub, SUB_KEY, garage, initPubNub, makeHandler, pubnubConns,
refreshStatus, _;
_ = require('underscore');
MyQ = require('liftmaster');
PubNub = require('pubnub');
LIFTMASTER_USERNAME = 'YOUR_LIFTMASTER_USERNAME';
LIFTMASTER_PASSWORD = 'YOUR_LIFTMASTER_PASSWORD';
PUB_KEY = 'YOUR_PUB_KEY';
SUB_KEY = 'YOUR_SUB_KEY';
HOME_CHAN = 'MyHome';
CTRL_CHAN = 'MyHome_Ctrl';
DOOR_STATES = {
'1': 'open',
'2': 'closed',
'4': 'opening',
'5': 'closing'
};
pubnubConns = {};
garage = new MyQ(LIFTMASTER_USERNAME, LIFTMASTER_PASSWORD);
makeHandler = function(uuid) {
return function(pnMessage) {
var command, newState;
if (!((pnMessage.subscribedChannel === CTRL_CHAN) && (pnMessage.message.target === uuid))) {
return;
}
command = pnMessage.message;
if (!pubnubConns[uuid]) {
return;
}
newState = (command.newState === "open") ? "1" : "0";
garage.setDoorState(uuid, newState, function() {
console.log("SETTING DOOR STATE to: " + JSON.stringify({ uuid: uuid, newState: newState }));
});
};
};
initPubNub = function() {
garage.getDevices(function(err, devices) {
_(devices).forEach(function(door) {
var handler, pn, uuid;
uuid = door.id;
door.type = 'Garage Door';
pn = new PubNub({
publishKey: PUB_KEY,
subscribeKey: SUB_KEY,
uuid: uuid,
ssl: true
});
pn.setState({
channels: [HOME_CHAN, CTRL_CHAN],
state: door
});
pn.publish({
channel: HOME_CHAN,
message: door
});
pn.subscribe({
channels: [HOME_CHAN, CTRL_CHAN],
withPresence: true
});
handler = makeHandler(uuid);
pn.addListener({
status: handler,
message: handler,
presence: handler
});
pubnubConns[uuid] = pn;
});
});
};
refreshStatus = function() {
garage.getDevices(function(err, devices) {
if (err) {
throw err;
}
_(devices).forEach(function(door) {
var pn, uuid;
door.type = 'Garage Door';
uuid = door.id;
pn = pubnubConns[uuid];
pn.setState({
channels: [HOME_CHAN, CTRL_CHAN],
state: door
});
pn.publish({
channel: HOME_CHAN,
message: door
});
});
});
};
garage.login(function(err, res) {
if (err) {
throw err;
}
console.log('logged in', JSON.stringify(res));
initPubNub();
setInterval(refreshStatus, 3000);
});
OK, that’s a lot to digest all at once – let’s take a look at the code piece by piece.
Dependencies
First up, we have the code dependencies of our application.
_ = require('underscore');
MyQ = require('liftmaster');
PubNub = require('pubnub');
As previously mentioned, underscore is a super-awesome library that provides a ton of useful functions for programming JavaScript. The liftmaster module provides connectivity to MyQ API functions, and `pubnub` provides the connectivity between our doors and all of the wonderful applications we can think of.
Program Initialization
Theres a bit of setup involved before we get started – here’s what we’ll need:
LIFTMASTER_USERNAME = 'YOUR_LIFTMASTER_USERNAME';
LIFTMASTER_PASSWORD = 'YOUR_LIFTMASTER_PASSWORD';
PUB_KEY = 'YOUR_PUB_KEY';
SUB_KEY = 'YOUR_SUB_KEY';
HOME_CHAN = 'MyHome';
CTRL_CHAN = 'MyHome_Ctrl';
DOOR_STATES = {
'1': 'open',
'2': 'closed',
'4': 'opening',
'5': 'closing'
};
pubnubConns = {};
garage = new MyQ(LIFTMASTER_USERNAME, LIFTMASTER_PASSWORD);
The LIFTMASTER_USERNAME and LIFTMASTER_PASSWORD are the credentials you used earlier when creating your MyQ account. For those who prefer to keep them out of source code, you might prefer to make them environment variables.
Similarly, the PUB_KEY and SUB_KEY are the publish and subscribe keys you created earlier as part of the PubNub account creation process. These should also be safeguarded – anyone who has the publish key will be able to send commands to open and close your garage doors, and anyone who has the subscribe key will be able to see messages between the devices.
The HOME_CHAN and CTRL_CHAN are the names of two PubNub channels we’ll be using, for device status and device control respectively. Why do we use two channels? To make it easier to restrict access in the future. In many cases, you’ll want to provide device status display without necessarily offering device control. In that model, device control can be restricted behind a backend that provides additional layers of authentication and access control.
The DOOR_STATES variable is just a static mapping of numeric state codes to door status in the LiftMaster API. No real magic there.
The pubnubConns map is the place where we’ll store our PubNub connections. For this application, we chose to allocate a PubNub connection per garage door so that we could use the awesome Presence feature (including custom device state attributes) more effectively. You may choose to use a single connection in your application if you like – we won’t mind.
Lastly, the garage object is the LiftMaster MyQ API object, initialized with the credentials we set up earlier. There, that wasn’t so bad, was it?
Creating Command Handlers
OK, please brace yourself, because this one might be a little tricky. Picture the situation: we have multiple devices, and we want to create separate event handlers for each one.
To make this happen, we’ll use a makeHandler function that takes a device UUID and returns a function that handles the command only if the incoming message is destined for that UUID.
Here we go with that “function that returns a function” business.
makeHandler = function(uuid) {
return function(pnMessage) {
var command, newState;
if (!((pnMessage.subscribedChannel === CTRL_CHAN) && (pnMessage.message.target === uuid))) {
return;
}
command = pnMessage.message;
In the handler function that gets returned, we have logic that checks the PubNub message pnMessage to make sure the message is coming from the control channel and that the target UUID matches the UUID that the handler was created with.
In this case, pnMessage is the incoming object from the subscribe message handler, pnMessage.subscribedChannel is the PubNub message attribute that contains the channel that the message is coming from, and pnMessage.message is the message payload itself (as sent by the publishing process, which is most likely the UI we present in the next article, or another component that you create).
Next, we’ll want to make sure that the device has a PubNub connection, returning early if it’s not there. In a real application, you’d probably want to define an error protocol between the two sides of the communication.
if (!pubnubConns[uuid]) {
return;
}
Then, we determine the desired door state based on the inbound command. In the LiftMaster API, “1” is the numeric code for “open”, and “0” is the numeric code for “safely closed.” When I say “safely closed”, I mean the feature where the Garage Door opener beeps a lot before closing to make sure that humans, animals, and/or other sentient beings aren’t harmed by the remote door operation.
newState = (command.newState === "open") ? "1" : "0";
Now that we know the desired state, we can call the API to send the command to the garage door opener:
garage.setDoorState(uuid, newState, function() {
console.log("SETTING DOOR STATE to: " + JSON.stringify({ uuid: uuid, newState: newState }));
});
};
};
We also print out a debug message to the console so we can see what’s happening. In a production app, you’d also probably add some error handling here.
Initializing PubNub
In this section of code, we create the function that queries the LiftMaster API for a list of devices and sets up all the PubNub channels, subscriptions and handlers to implement the application.
First, we define the initPubNub function:
initPubNub = function() {
garage.getDevices(function(err, devices) {
_(devices).forEach(function(door) {
var handler, pn, uuid;
uuid = door.id;
door.type = 'Garage Door';
This first part is calling the getDevices() API method which returns a JavaScript Array of device objects.
Then, for each of those devices, we store the value of the id attribute in the uuid variable and set an additional type attribute to “Garage Door” (as we think forward to a future where we have more types of devices connected).
Once we have the UUID to identify the Garage Door device, we can create a PubNub connection and represent its connected state.
pn = new PubNub({
publishKey: PUB_KEY,
subscribeKey: SUB_KEY,
uuid: uuid,
ssl: true
});
The PUB_KEY and SUB_KEY are the publish and subscribe keys previously discussed.
The uuid attribute is the device id, which will be listed in channel membership as part of the Presence feature. We use the device id attribute because we know it’s unique to each door via the LiftMaster API. If you are bridging devices with IDs from other providers, you may want to prepend a prefix or use some other ID mangling/unmangling strategy to avoid conflicts.
Coming up next: this is a tiny segment of code, but it packs a ton of power. We call the setState() function of the Presence API to associate the current door state to the connected PubNub device state on the channels. This allows us to keep a snapshot of the device state easily accessible at all times and not have to re-process data streams to get that information.
pn.setState({
channels: [HOME_CHAN, CTRL_CHAN],
state: door
});
We also publish() the current door state on the HOME_CHAN channel itself to start populating an audit trail of door status.
pn.publish({
channel: HOME_CHAN,
message: door
});
We subscribe() to the HOME_CHAN and CTRL_CHAN channels with the Presence feature enabled. Subscribing to the HOME_CHAN is what creates a Presence entry in the channel that our other components will see when they list channel membership and subscribe to Presence updates. This also allows us to use the custom state attributes in our application (for current door state).
pn.subscribe({
channels: [HOME_CHAN, CTRL_CHAN],
withPresence: true
});
We create a specific message handler for this UUID, and subscribe it to all the event types we can. In this case, we are using just message events for device control, but in the future we might want to handle errors and/or presence events as devices join and leave the integration channel.
handler = makeHandler(uuid);
pn.addListener({
status: handler,
message: handler,
presence: handler
});
You’ll notice we use the nifty addListener method above, which is the new and improved way of listening to events in the PubNub v4 API.
Lastly, we take our awesome device-specific PubNub object and place it in the map.
pubnubConns[uuid] = pn;
});
});
};
Not too shabby! Let’s move on to the refresh status function, which keeps everything updated continuously.
Updating Device Status
If you look closely, you’ll see this code is a lot like the code above.
refreshStatus = function() {
garage.getDevices(function(err, devices) {
if (err) {
throw err;
}
_(devices).forEach(function(door) {
var pn, uuid;
door.type = 'Garage Door';
uuid = door.id;
pn = pubnubConns[uuid];
pn.setState({
channels: [HOME_CHAN, CTRL_CHAN],
state: door
});
pn.publish({
channel: HOME_CHAN,
message: door
});
});
});
};
Every time we refresh the device status, we:
- Call the
getDevices()API to return the current device state. - Iterate over all the devices, and:
- Find the corresponding PubNub connection, set the current state attributes, and publish a message to provide an audit trail.
Set this function up on a continuous interval timer, and we’ll be good to go! On to the main application code…
The Main Application
Now that we’ve defined all the functions we’ll need, it’s time to put them to good use. Here we go:
garage.login(function(err, res) {
if (err) {
throw err;
}
console.log('logged in', JSON.stringify(res));
initPubNub();
setInterval(refreshStatus, 3000);
});
Nothing magic here – we call garage.login() to connect to the LiftMaster MyQ API. Then, within the callback of that operation, we either throw (in the case of an error), or proceed with the body of our service: initialize PubNub and install the control handlers, and start the continually-updating function that calls the LiftMaster API repeatedly every 3s and keeps the PubNub device status updated.
Running the Code
Once you’ve made the necessary variable changes above, running the code is pretty trivial.
node garage.js
You should see something like:
logged in {"UserId":0,"SecurityToken":"00000000-1111-2222-3333-444444444444","ReturnCode":"0","ErrorMessage":"","BrandId":1,"BrandName":"Liftmaster","RegionId":1}
And that’s all… Now, all you need to do is hook up a user interface and/or your own custom integration(s)!
Generalizing to Other Devices and Applications
We think this is pretty neat, but there is nothing special here about the process of integrating LiftMaster with PubNub. We saved some time because there is already an unofficial Node.js-enabled API for the LiftMaster, but if you dive into that code you’ll see that it’s not too tough to adapt it to other devices, even running embedded on a device itself. The pattern of using a status channel, control channel, and presence with PubNub will be useful many other connected device situations you might have.
Conclusion
Thank you so much for staying with us this far! Hopefully it’s been a useful experience. The goal was to convey our experience in how to build a Node.js app that:
- Authenticates to the LiftMaster MyQ service using the node-liftmaster module.
- Bridges LiftMaster device status to a PubNub channel.
- Accepts commands to open/close Garage Doors from a PubNub channel.
If you’ve been successful thus far, you should be able to start using PubNub as the integration hub for all of your Smart Home needs.
In the next article, we’ll dive into a minimal but nifty user interface for this Garage Door controller using AngularJS and PubNub. Can’t wait!
Stay tuned, and please reach out anytime if you feel especially inspired or need any help!