Customizable User Location Data for an Ember.js Chat App

Good News! We've launched an all new Chat Resource Center.
We recommend checking out our new Chat Resource Center, which includes overviews, tutorials, and design patterns for building and deploying mobile and web chat.
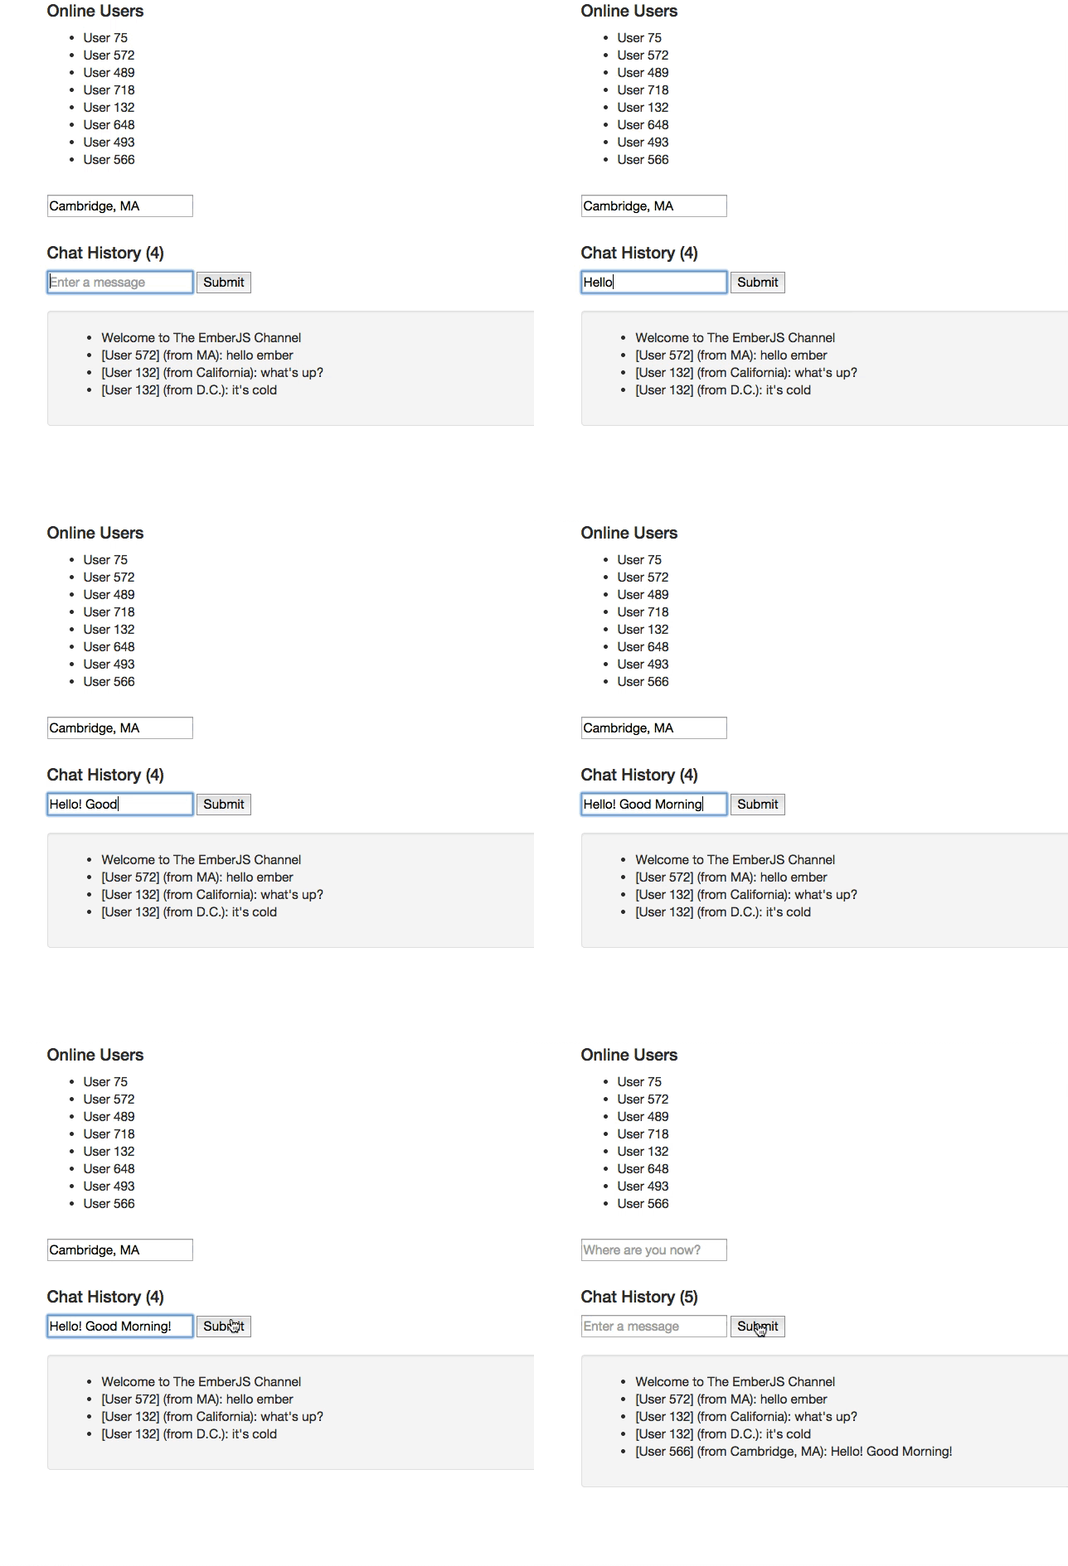
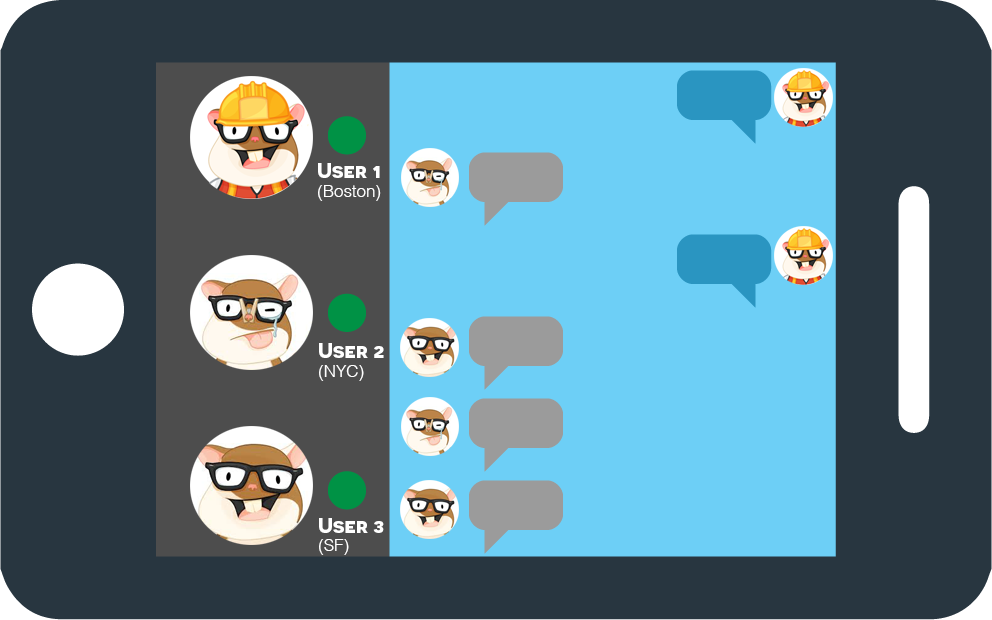
Welcome back! In our last entry, we showed you how to make a presence event (ie, a ‘chat buddy list'). Now it’s time to build an online community that consists of users from different locations. This feature adds some complexity because you have to set local variables to each user. Here is an example of an application that allows the user to set their location:

This entry shows you how to use advanced presence and message persistence in a small Ember.js real-time chat application. This example is just scratching the surface of what you can do with the power of the PubNub service. Have an idea? Join our rapidly growing.
For this blog entry, we’ll presume you are familiar with the ideas from the PubNub Ember.js SDK. You should skim that site if you haven’t already.
Here are a few more resources:
- Code Pen for the PubNub Ember.js Chat Application
- Zero to Ember.js in 60 Seconds: Ember Made Easy
- Ember.js 101: From Zero to Ember in PubNub Seconds
Have you been following along with the previous posts? Feel free to click here to skip down to Advanced Presence, otherwise, the quick recap will get you up and running quickly!

Quick Recap: Intial Set Up
You’ll first need to sign up for a PubNub account. Once you sign up, you can get your unique PubNub keys in thePubNub Developer Portal. To test a live version of this app, clone the Code Pen code, and enter your unique PubNub keys on the PubNub initialization.
Here are the script includes you’ll need to get started:
Quick Recap: The HTML View
Let’s look at the necessary code for the HTML view. This will display the app’s functionality through the browser. For a simple chat application we’ll want to see all the current users, an input box to send new messages, as well as a count and list of messages sent.
First, define the Ember.js Application:
Display a list of all online users:
Display the chat history length:
Provide an input box for new messages:
Display the chat history:
That was easy, right?
Quick Recap: Initializing the Ember.js Application with PubNub
It is very easy to create a new Ember.js application.
We’ll need to assign each user and id when they enter the channel. For the sake of simplicity, we’ll assign a random number for each id.
In order to take advantage of the PubNub Data Stream Network, we must initialize it first.
You should replace demo with your own subscribe and publish credentials from your PubNub account. Take note that you should never publish your keys to a public code base.
The main:pubnub object is fully initialized and available for injection into the controller.
Now, we can access the PubNub service anywhere from our controller with this.get('pubnub'). There are certain cases, like nested closures, where you might need to use var self = this outside of the closure.

Quick Recap: Setting Up a Channel
The next step involves creating a new channel. The channel name and initial message can be customized to your preferences. We also set up a dynamic collection for users and messages.
Defining the PubNub service, the channel, and this will provide some simplicity for us later.
Subscribing to the channel is trivial with the emSubscribe method. After this is complete, the app registers $rootScope with PubNub.on.
Quick Recap: Introducing Message and Presence Events
Add new messages to the messages list by registering for message events with emMsgEv.
Add new users to the list of users currently in the channel by registering for presence events with emPrsEv.
Pre-Populate the user list with users that are already in the channel with emHereNow.
Populate message history in the channel. You can customize the number of messages to populate with the count number.
Set up an Ember Action to publish a message with the emPublish method, passing in the user id, channel, and message. You can also send structured data as JSON objects. The PubNub library will automatically serialize and deserialized those objects for you. Very cool!
Getting Started with Advanced Presence
The PubNub Presence API makes it very easy to build presence-aware applications. Without the Presence API, you’d have to track all of the join/leave/timeout events yourself on the server side, which is really tough if you’re building a pure JS web application with no server side! However, Presence fixes that.
To keep things simple, wiring up Presence events using the PubNub Ember.js API is very similar to wiring up Message events. It all boils down to registering an event handler callback for the presence events. In this example, we’re going to allow users to indicate where they are. To start, we’ll create a location input box and bind it to where_now.
We can display a user’s location to each message by grabbing the input text, setting where_now, and adding it to that user’s messages.
This example allows the user to create custom locations. Alteratively, you could get the metadata from emWhereNow.
To begin this way, create the userList array and userData object.
The presence event payload contains useful information for your app: the channel and PubNub event itself. In the case of a single-user event, which you can tell by the presence of the ‘uuid’ field, payload.event contains action (join/leave/timeout), occupancy (number of users in the channel), timestamp, and uuid of the relevant user. Now, with the NEW advanced presence API, it also includes a data attribute (accessible through payload.event.data).
In the case of a multi-user event, such as the one triggered by emHereNow(), the payload.event contains the occupancy count as well as a ‘uuids’ field (note pluralization) which contains the list of current user ids. Now, with the NEW advanced presence API, each uuid is an object that includes a uuid field and a state field which includes the extended attributes. Pretty nifty!
In addition to the callback-based API, there is also a convenient collection-based API that keeps track of channel membership automatically. To obtain the list of users, just call the emListPresence() function with the name of the channel you’d like to list. Of course, you’ll want to already be subscribed to the channel and initialized the ‘here now’ status as in the example below.
Often times, we combine both approaches to make sure that our Ember views always have the most up-to-date user list.
But here’s the kicker – to make things extra awesome for Ember development, we also keep track of the presence extended attributes for the connected users in each channel. You can get it all simply by calling emPresenceData and passing in the channel name. This is pretty sweet.
This gets the cached map of user UUIDs to extended attributes and stores it. Now, every time the presence information changes, your app can access it.
And just like that, your app is wired for presence!
All of this is really cool, but sometimes it’s hard to keep track of what users are subscribed to what channels in the application. Even with the cool presence helper functions in the PubNub Ember SDK, it’s not possible to know what users are present in what channels if you’re not subscribed to them.
With the new presence API, that all changes! There’s a nifty new emWhereNow() function you can call to get access to global channel subscription information for a given user UUID.
The response contains a channels list of channel names for the subscriber, which can come in handy when you need to see where the user is from!

Wrapping Up Ember.js
In this blog post, we had fun showing you a how to integrate advanced presence and persistence in your Ember.js app with the PubNub Ember.js library. We hope you find this information to be useful — it is really cool to see the number of PubNub and Ember.js applications growing!
The PubNub API has many more features we didn’t cover in this blog post, but which are explained in detail in theGitHub API Guide and Reference. The documentation walks you through additional topics which really enhance your real-time-enabled web application. In future blog posts, we’ll cover other features of the PubNub Ember API. In the meantime, please give the Ember.js integration a try, have fun, and reach out if you have ideas visit GitHub pubnub/pubnub-ember. Or, if you need a hand, help@pubnub.com!