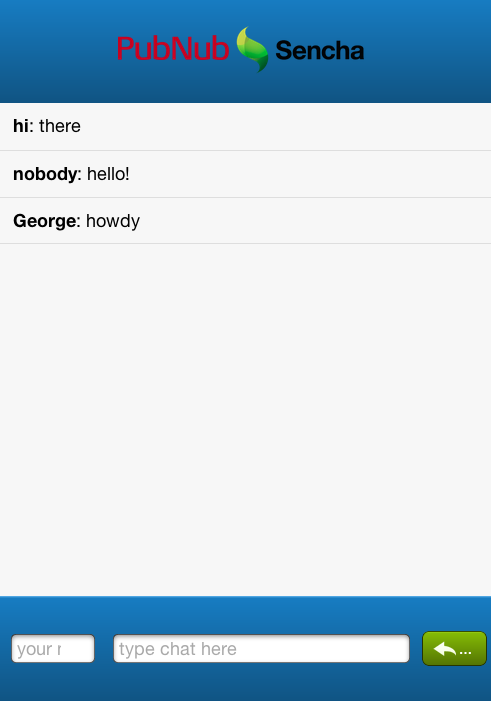
Building a PubNub-Powered Chat App with Sencha Touch 2

Good News! We've launched an all new Chat Resource Center.
We recommend checking out our new Chat Resource Center, which includes overviews, tutorials, and design patterns for building and deploying mobile and web chat.
Sencha Touch 2 is a new framework for building super slick mobile applications. I decided to put on my mobile dev hat on and experience it for myself. And of course, I wanted to see how nicely it played with PubNub.
Turns out, it delivered. Sencha is not only intuitive, it's a blast. There were certainly a few “gotcha”s, but I found the experience to be extremely pleasant. Here's what I learned. First step is installation. This was actually not the best thing in the world. It wasn't abundantly clear what files / folders needed to exist in what places.
Picking up a new web framework
Furthermore, the documentation and “getting started” documents on the website were a completely distinct set from the ones that come when you unpack it the download. There's a Sencha Touch 2 download, but there's also a SDK Tools download. Additionally, a full working demo can be found here. I eventually figured out that the latter made it the easiest. The magic command was this: sencha generate app example-app ../example-app
That started a new project with all the right files and folders in the right places.From there, I was off to the races. 
app.js and app.json: the heart of your Sencha Touch 2 app
This script creates a few files, which do various things. I found myself spending most of my time in two files: app.js and app.json. app.js is the main entry point for the app, and app.json is the app configuration file. Let's start with app.json. This is where you tell your Sencha App about all the resources it needs. I created a `resources/js` folder, dropped in the pubnub javascript library, and then added it to the top of the list like so: Let's take a look at app.js. Here's where you'll define all the interface elements you want on screen and how they'll interact with each other. We'll use the `vbox` layout which allows you to subdivide vertically based on the `flex` attribute, which you provide to all of the children items. I gave a 1.5 flex to the top and bottom toolbars, and 7 flex to the main chat window. This seemed to look decent. Within the top toolbar, I created two panels, one for each logo, and two spacers surrounding them in order to center them.

Within the bottom toolbar, I added three interactive elements. A text field for name entry, a text field for the chat message itself, and a submit button. Here's they are defined.

This is pretty straight forward. I give them names, ids, placeholder text, etc. Layout-wise, again I'm using the `flex` element to define how much space they take up in relation to each other. The most important part here is that `listeners` field. This is where I tell the chat field and submit button to listen for “return” and “tap” events, respectively, and point them at a callback function called sendMessage. That callback is where PubNub comes into play.
Enter PubNub
First, lets initialize PubNub using the init() function. You’ll first need to sign up for a PubNub account. Once you sign up, you can get your unique PubNub keys in the PubNub Developer Portal. Once you have, clone the GitHub repository, and enter your unique PubNub keys on the PubNub initialization.
And here's how we send messages: So now, anytime a user presses enter while typing, or taps submit, it triggers a `pubnub.publish` command and subsequently sends the chat message through the pubnub infrastructure. That's only half the battle, though. Now we need to do a `pubnub.subscribe` and listen for any chat messages – including our own. Once we get a message, we make sure it's the right type of message (message.name == ‘chat_message') and add it to the data store associated with the the main chat view. Notice that mess of scrollToBottom()? That is a workaround to an annoying gotcha. Sencha Touch does not appear to provide a callback to the getStore().add() function. What we want to do is scroll to the bottom of the view after the data is added. Because that .add() function is asynchronous, simply adding it after the call doesn't work. setTimeout() is certainly not a “best practice”, generally speaking, but that fix does seem to work for now. Finally, on initial page load, let's pull the last 10 messages from pubnub.history() and add them to the data view. That wraps it up. 