Stream Data, Signal, and Trigger Actions with Arduino Yún
In our series on building an Arduino-controlled smart home with PubNub, I've gone into more detail on many of the roadblocks I faced while constructing the home automation model. In a previous blog post, I explained how I was able to connect my Arduino Uno and Ethernet Shield to the PubNub Data Stream Network.
Near completion, I decided to make his house wireless and replaced the Arduino Uno with the Arduino Yun. In addition to a WiFi chip, Yun has a second processor that runs Linux. This blog post walks through how to get Arduino Yun up and running on the PubNub Data Stream Network.
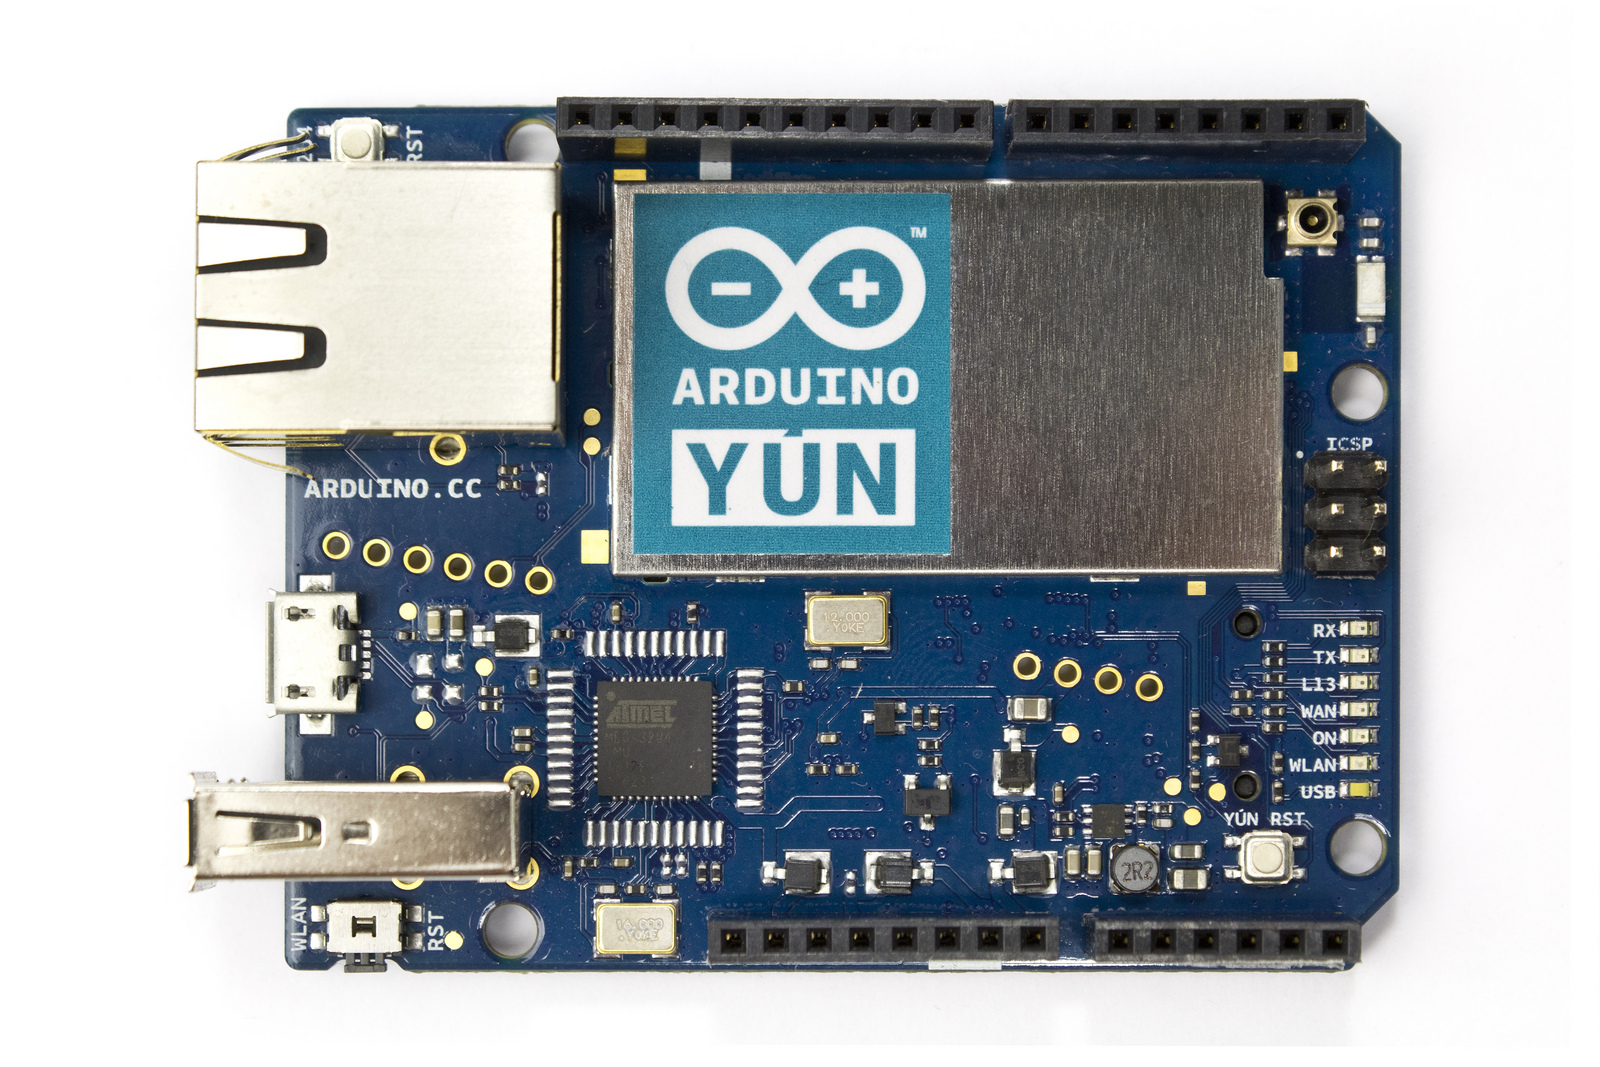
The Arduino Yun is Arduino’s flagship IoT chip. It includes onboard WiFi, USB power, and two processors; one of which is used to run Linux. The Arduino Yun is a microcontroller board based on the ATmega32u4 (datasheet) and the Atheros AR9331.
The Atheros processor supports a Linux distribution based on OpenWrt named OpenWrt-Yun. The board has built-in Ethernet and WiFi support, a USB-A port, micro-SD card slot, 20 digital input/output pins (of which 7 can be used as PWM outputs and 12 as analog inputs), a 16 MHz crystal oscillator, a micro USB connection, an ICSP header, and a 3 reset buttons.  Unfortunately we didn’t have a PubNub library specifically for the Yun. So I wrote one.
Writing the Arduino Yun PubNub Client
We like to say “if it can connect to the Internet, it can connect to PubNub.” The fact is that basic publish, subscribe, and history calls with PubNub can all be completed with our HTTP REST Push API.
The full Arduino Yun client code is available here.
The following is a short snippet demonstrating how to use the HttpClient. We'll also have a full featured library available as part of the Arduino PubNub SDK soon.
The Arduino starts by making a request to the PubNub subscribe endpoint (on the linux processor). When data is received, it’s streamed to the Arduino sketch.
I opened the PubNub developer console and started sending messages like this:
My sketch receives the data and waits for the termination character “\0”. Then it strips the JSON response out of the callback by looking for “(” and “)”. Next, it’s sent to the ArdinoJson library. This was the hardest part to figure out by far. Arduino does not have the same javascript types like a hash table, so they are re-implemented just for this library.
Once I figured out how to parse the JSON payloads, I simply matched keys to functions and values to parameters.
Now I was able to trigger functions in Arduino through the PubNub developer console!
I used jQuery mobile and the PubNub JavaScript library to create a simple and responsive control panel. That full code is available here.
The PubNub javascript is really simple:
That's it! Below are the other Arduino-controlled smart home resources: