Publishing Temperature Data in Real time with Tessel Climate
Welcome! We hope you’re excited to hack on the Tessel with PubNub. The Tessel board, a small microcontroller that runs JavaScript, can be connected to several modules and sensors. In this blog post, we’re going to use the Tessel Climate Sensor and PubNub to send real-time temperature and humidity data over a WiFi network.
In Part Two of this series, we're going to receive that climate data and visualize it on an interactive, live-updating chart.
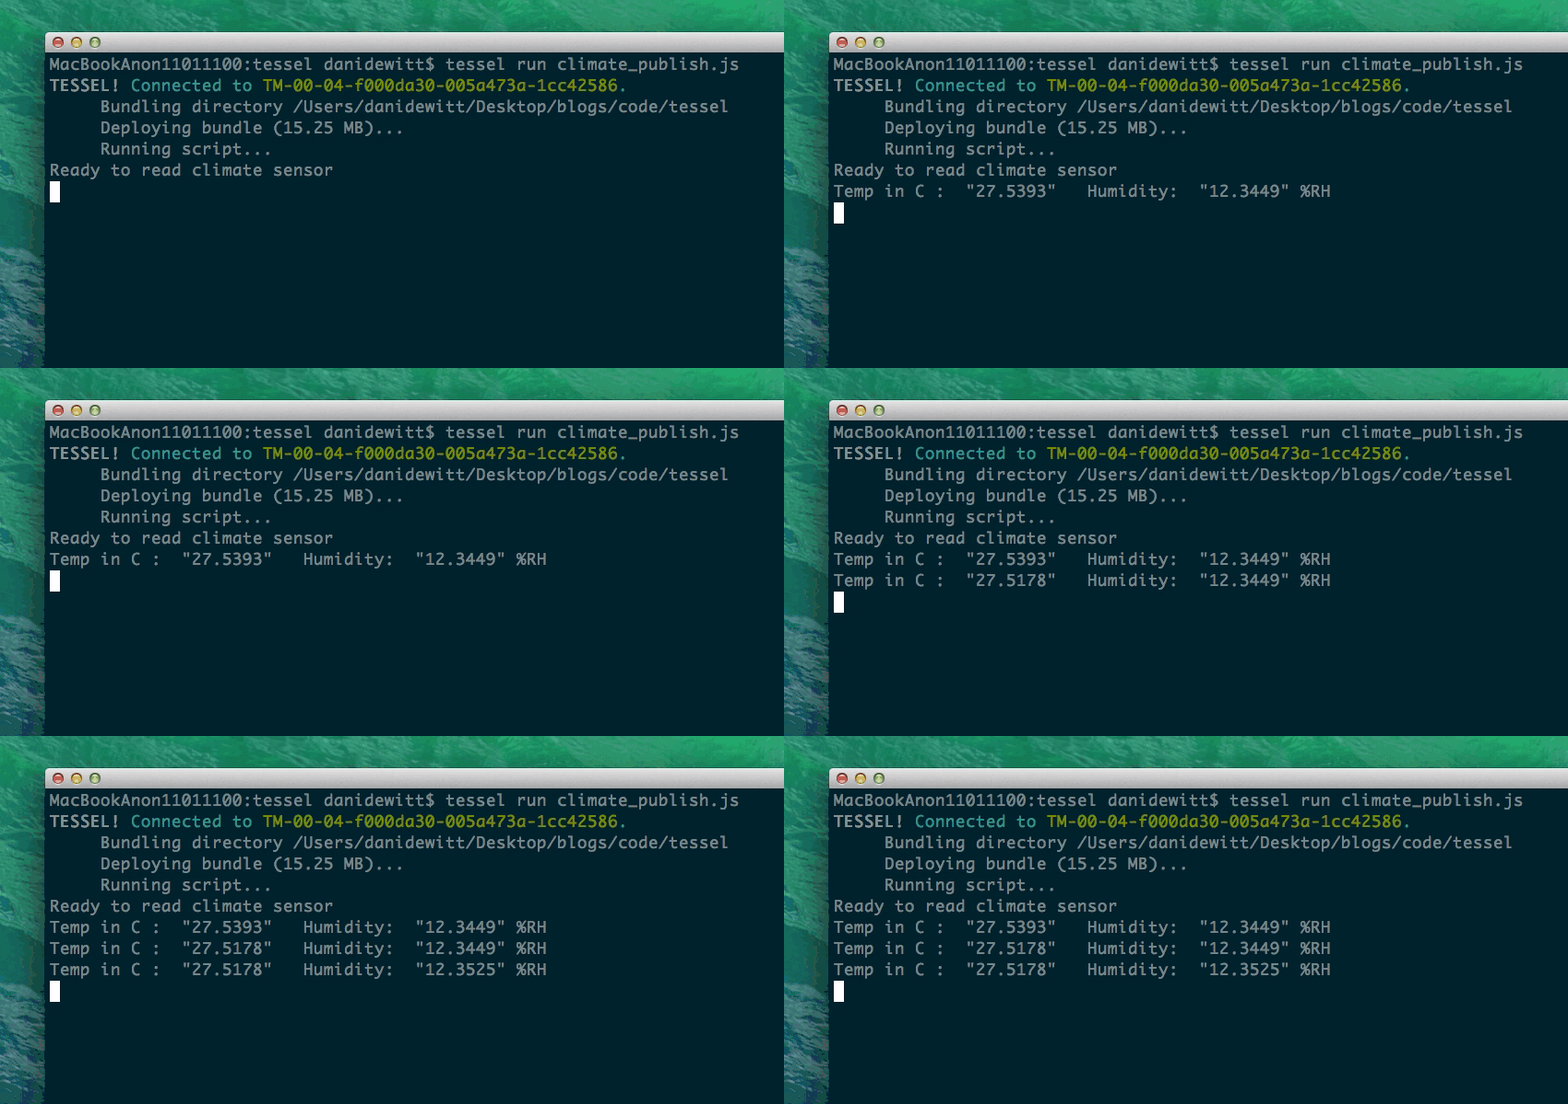
This is the Tessel in action:
Climate sensors are important. They regulate our heat and air conditioning. They make sure your tropical fish stay warm. Climate sensors also regulate greenhouses. Any time you need to grow or take care of something by regulating environmental factors, you need a climate sensor. For example you may use them to build a custom spray system for your plants.
Intial Set Up
Depending on your system and network connection, follow the steps to install node.js and Tessel.
In your Tessel project directory:
brew install nodenpm install -g tesseltessel updatenpm init
Then follow the steps to connect to WiFi. The Tessel board does not support 802.11n or channels 12 – 14, so you may need to set up a WiFi hotspot or find another network.
tessel wifi -n [network name] -p [password] -s [security type*]tessel -lto confirm that you’re connected successfully
Install the PubNub library with npm install pubnub.
Be sure to check your climate module number, we’re using si-7020. You may also have si-7005. Install the appropriate module:
npm install climate-si7005npm install climate-si7020
When connecting the Tessel Climate module to the Tessel board, use port B or D to avoid thermal effects of Tessel itself. In this example, we’re using port D. If one port isn’t working for you, try the other.
Writing the JavaScript to Control the Tessel
To begin, we require Tessel, the climate module, and specify the port (B or D).
We’ll also define the channel and uuid.
Next, we initialize the PubNub service. To get your unique pub/sub keys, you’ll first need to sign up for a PubNub account. Once you sign up, you can get your unique PubNub keys in the PubNub Developer Dashboard. Our free Sandbox tier should give you all the bandwidth you need to build and test your messaging app with the web messaging API.
Now, we are ready to start using the climate sensor. When the sensor is ready, we will want to be notified in the console.
We’re going to read the temperature and humidity every twenty seconds by setting an interval. Once we read the temperature and humidity, we’ll grab that data from the JSON, format it for readability, and publish it in the channel.
If there’s an error, we will see an error message in the console.
To run the code you just wrote work with the Tessel hardware, run the Tessel. That’s it! Did you have fun?
Wrapping Up Tessel
In this blog post, we had fun showing you a how to integrate the Tessel Climate Sensor with the PubNub real-time library. We hope you find this information to be useful — it is really cool to see the Internet of Things grow!


