Building a Multiplayer Hangman Game for iOS in Swift
With the launch of PubNub BLOCKS last year, PubNub extended its functionality to enable you to execute functions on your data streaming over the PubNub network. And it fits in great with simple turn-based multiplayer games for both web and mobile.
In this tutorial, we'll walk you through a simple way to implement BLOCKS by using our Hangman BLOCK to create a simple multiplayer game of Hangman. We'll use Swift to create the UI for the application, but you can easily adapt the code to suit any of your development needs. With that in mind, let’s get started!
The full code repository is available on Github.
Creating the App
Before you start working with the BLOCK, you’re going to need to set up a fairly straightforward application using Swift. Make sure you’ve already followed the steps to enable PubNub using Cocoapods and that you’re working from your project workspace. Then, initialize PubNub in your AppDelegate.swift file so that you can use it in your application.
import PubNub
@UIApplicationMain
class AppDelegate: UIResponder, UIApplicationDelegate, PNObjectEventListener {
   var window: UIWindow?
   lazy var client: PubNub = {
       let configuration = PNConfiguration(publishKey: "insert-pubkey-here", subscribeKey: "insert-subkey-here")
       let pn = PubNub.clientWithConfiguration(configuration)
       return pn
   }()
…
}
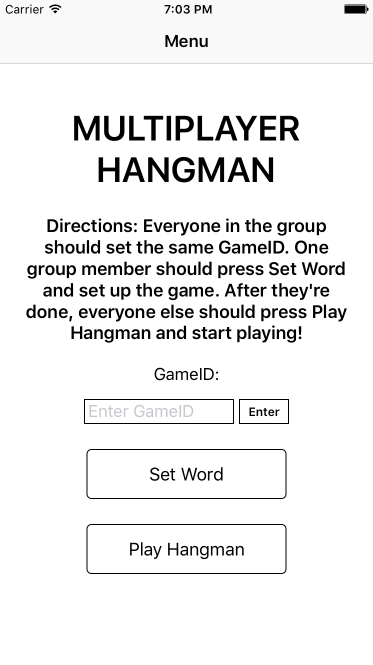
For this app, you’ll be using three different view controllers. The first is a menu that enables all players to set the same GameID, ensuring that they’re all using the same PubNub channel to play. This file is called MainController.swift. The next view controller allows one player to set the word for the game, called WordViewController.swift. The last view controller is where the game will actually be played, and where you’ll be using PubNub to communicate with your BLOCK. Call this one PlayerViewController.swift.
In AppDelegate.swift initialize your MainController as your Navigation Controller and create the window you’ll be using for your application.
func application(_ application: UIApplication, didFinishLaunchingWithOptions launchOptions: [UIApplicationLaunchOptionsKey: Any]?) -> Bool {
       window = UIWindow()
       let navigationController = UINavigationController(rootViewController: MainController())
       window?.rootViewController = navigationController
       window?.makeKeyAndVisible()
       return true
}
Now, create a UI in your MainController so that all players can input a GameID and then navigate to the other view controllers to set up and start the game. You can do this however you’d like, but if you’d like to see how we did it, check out the GitHub repository for this project. All you need is a couple buttons and a text field to make the project work.

Also make sure that you declare global variables that contain the inputted GameId and SubmittedWord – the id that will identify the group of players playing your game and the chosen word for the players to guess. GameId should update after the user enters their GameId.
var gameID = ""
var submittedWord = ""
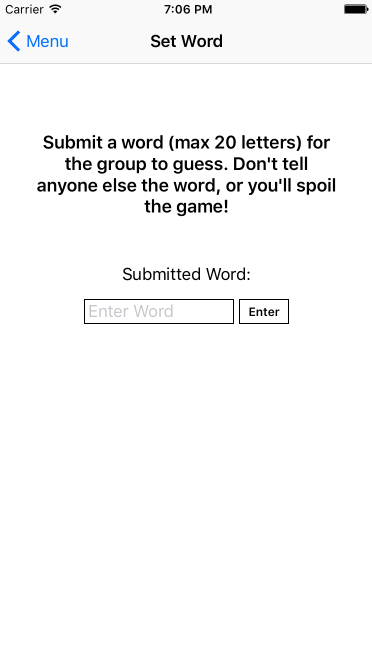
Now let’s move on to WordViewController. This UI should contain a text box for the user to enter the word they want to use for the game, then it should save that input to the global variable submittedWord.

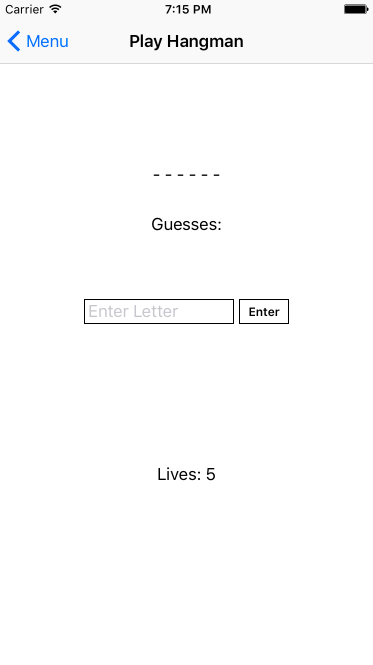
Finally, let’s work on PlayerViewController. This is where the game is played and where it will communicate with your BLOCK. First, let’s deal with the UI. You’ll need a textbox for the user to enter their guess, a label that displays the number of lives they have, a label that shows all of their previous guesses, and a representation of the letters in the word, with the letters hidden, of course. But because you need information from the BLOCK to determine the details of how many letters have been guessed and how many lives are left, you can hold off on programming the dynamic content of the different labels. We’ll add that in after we configure the BLOCK.
But because you need information from the BLOCK to determine the details of how many letters have been guessed and how many lives are left, you can hold off on programming the dynamic content of the different labels. We’ll add that in after we configure the BLOCK.

Now that your app is all ready to go, it’s time to set up your BLOCK and start using PubNub! But don’t worry, we’ll come back to the app later to fill in the missing fields.
Setting up the Hangman BLOCK
A helpful feature of PubNub BLOCKS is that it includes a catalog of pre-designed BLOCKS that allow you to implement a variety of features in your applications, from automatically posting tweets to converting street addresses to coordinates, with just a few clicks of a button.
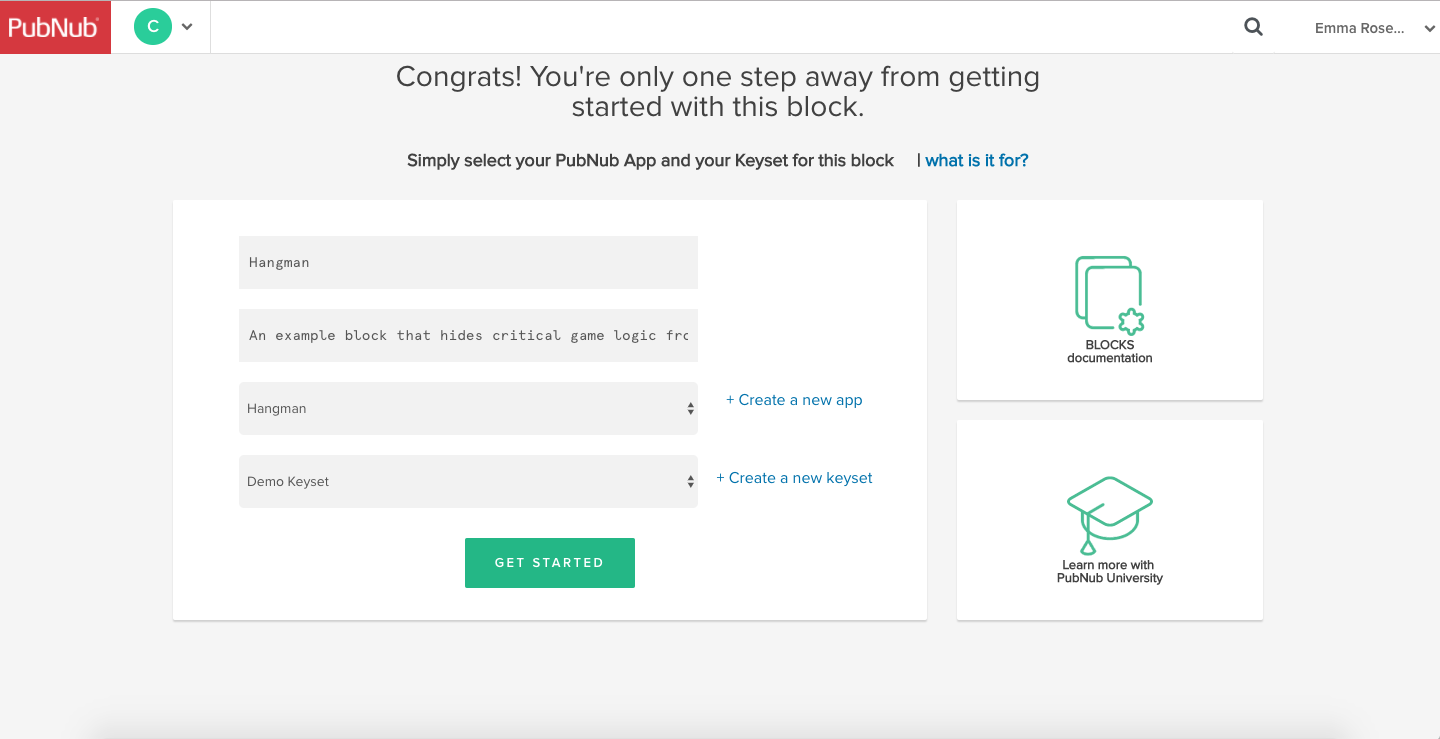
For today, we’re going to be using the Hangman BLOCK to provide the backbone for our multiplayer game. Open the Hangman BLOCK and click on the Try It Out button and make sure you’re logged in to get started.

On the page that appears, select the app and keyset that you’d like to use for this project, or create new ones by clicking on the + button next to each box. When you’re done, click Get Started and the template should open.
To make the game easier to work with from our app, we’re going to tweak the BLOCK code a little bit. Instead of inputting the word directly into the BLOCK, we’re going to have one game user select the word and publish it in a message. To have multiple groups of people playing at the same time, they’re also going to input the channel they want to use for their specific game output.
With that in mind, update the code on your BLOCK so that both the word and the channel come from a published message, like below.
var word = request.message.word.toUpperCase();
var outputChannel = request.message.channel;
To more easily handle the format of messages in Swift, we’re also going to change guesses from an array to a string.
var guesses = "";
…
var startGuesses = "";
Because we’re using our app to help keep track of the lives variable, we don’t need to use the key-value store in the template, so throughout the BLOCKS code we’re going to remove references to saving lives in store.
We want to reset the starting values of the BLOCK when we first start the game, and we’ll do this by publishing “1” as the submitted letter. To adjust to this change in format, we’ll add an if-else statement to the BLOCK that deals with the change. Re-formatting the JavaScript in the BLOCK to make the changes as shown below.
var a = store.get("guesses");
return Promise.all([a]).then(function (values) {
   if (request.message.letter == 1) {
       guesses = "";
       lives = 5;
       store.set('guesses', "");
   } else {
       guesses = values[0];
       lives = + request.message.lives;
       guesses = guesses + request.message.letter.toUpperCase() + " ";
       if (word.indexOf(request.message.letter.toUpperCase()) > -1) {
           successGuess = true;
       } else {
           lives -= 1;
       }
       store.set('guesses',guesses);
   }
…
}
Lastly, change the responseMessage so that all the entries are Strings, to make it easier to deal with in Swift. For wordResponse, you’ll also have to remove the commas as shown below.
var responseMessage = {
               "won": won.toString(),
               "lost": lost.toString(),
               "word": wordResponse.toString().replace(/,/g, " "),
               "guesses": guesses.toString(),
               "lives": lives.toString(),
               "successGuess": successGuess.toString()
};
To start running your BLOCK, press the Start Block button in the top right corner of the page, wait for the BLOCK to deploy. If you want to test it, type the following into the Test Payload section and press Publish.
{
       "lives": "5",
       "channel": "1234",
       "letter": "1",
       "word": "pubnub"
}
If everything is working properly, you should get a response with 6 blanks, have 5 lives, and an empty string for guesses. Now you’re ready to integrate your app.
Configuring the App
Now it’s time to connect your app to your BLOCK using PubNub. When PlayerViewController loads, you’ll need to publish a message to your BLOCK’s channel that has all of the starting information for the game: the submitted word, the gameId, the number of lives the player has, and an indication that the game has just started.
Just like when you tested your BLOCK, the indication that the game has just started is to publish a “1” in the “letter” field of your BLOCK. So, in the viewDidLoad() section of PlayerViewController, publish a message to the channel containing your BLOCK with the correct values inserted.
appDelegate.client.addListener(self)
appDelegate.client.subscribeToChannels([gameID], withPresence: false)
appDelegate.client.publish(["word":submittedWord, "channel": gameID, "letter": "1", "lives":"5"], toChannel: "hangman-game-after-publish",
                                   compressed: false, withCompletion:{(status)->Void in
                                       if !status.isError {
                                       }
                                       else{
                                           print("Publishing Error (initial publish)")
                                       }
})
After you publish a message to your BLOCK, it will send back a message with the status of the game. You need to take this information and make your PlayerViewController display it by accessing the different parts of the message and assigning them to different fields in your UI.
func client(_ client: PubNub, didReceiveMessage message: PNMessageResult) {

       if let data = message.data.message as? [String: String] {
           guesses.text = "Guesses: " +  data["guesses"]!
           lives.text = "Lives: " + data["lives"]!
           dashes.text = data["word"]
           livesNum = data["lives"]!
…
}
The game status received will also tell you whether the game is won or lost, at which point you’ll want to update your screen to display that.
if data["won"] == "true" {
               lives.isHidden = true
               guesses.isHidden = true
               sendLetter.isHidden = true
               enterLetter.isHidden = true
               dashes.isHidden = true
               view.addSubview(winning)
           }

           if data["lost"] == "true" {
               lives.isHidden = true
               guesses.isHidden = true
               sendLetter.isHidden = true
               enterLetter.isHidden = true
               dashes.isHidden = true
               view.addSubview(losing)
           }
Lastly, you’ll need to create a function that sends the user’s inputted letter to your BLOCK, after which your BLOCK will send back the game status. This is pretty straightforward, just attach the function to the send button next to your text box.
func publishLetter() {
submittedLetter = enterLetter.text!
enterLetter.text = ""
appDelegate.client.publish(["word":submittedWord, "channel": gameID, "letter": submittedLetter, "lives": livesNum], toChannel: "hangman-game-after-publish",
                                  compressed: false, withCompletion:{(status)->Void in
                                   if !status.isError {
                                   }
                                   else{
                                       print("Publishing Error (initial publish)")
                                   }
       })
}
And you’re done! Make sure your BLOCK is running, open your app, and start playing Hangman! If you download the app onto different phones and all enter the same gameID, you can now play a multiplayer game with your friends.
Wrapping Up
Now that you’ve used BLOCKS, you have a brand new tool in your toolbelt when it comes to development. Take a minute to peruse the rest of the BLOCKS catalog and see all the cool ready-made BLOCKS we have available for you to test out. Or, be creative and make a BLOCK that’s all your own. Welcome to the brand new world of PubNub BLOCKS.