Twitter Fabric, EON, Raspberry Pi iWatch Heart Rate Monitor
Since last July when I first developed for the Apple Watch, I have watched this wearable struggle to rise in popularity. Although it is just an extension of the iPhone, on which it relies heavily, some of its features are fun for both users and developers. HealthKit gives developers access to fitness data, like heart rate and number of steps. While your step count can be a good measure of fitness, it is a measurement best analyzed at at the end of the day because that number takes time to grow. On the other hand, heart rate is more of a real-time statistic.
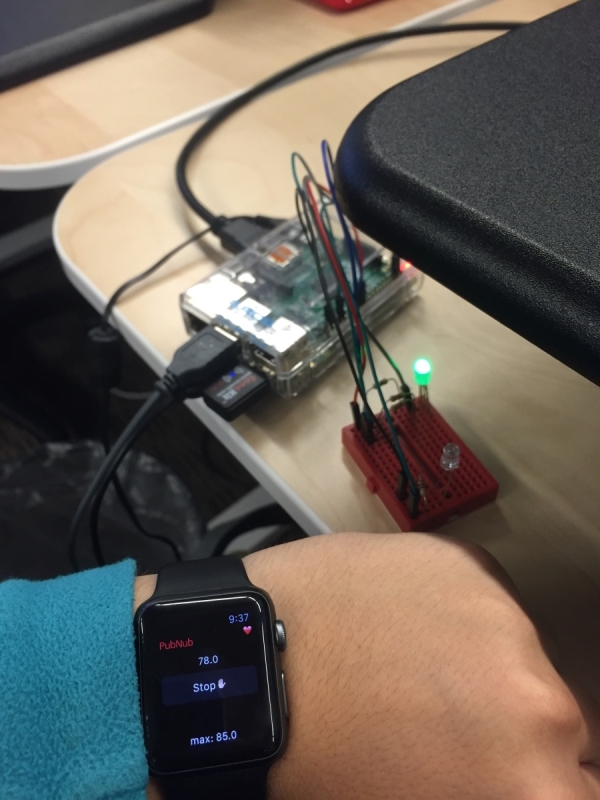
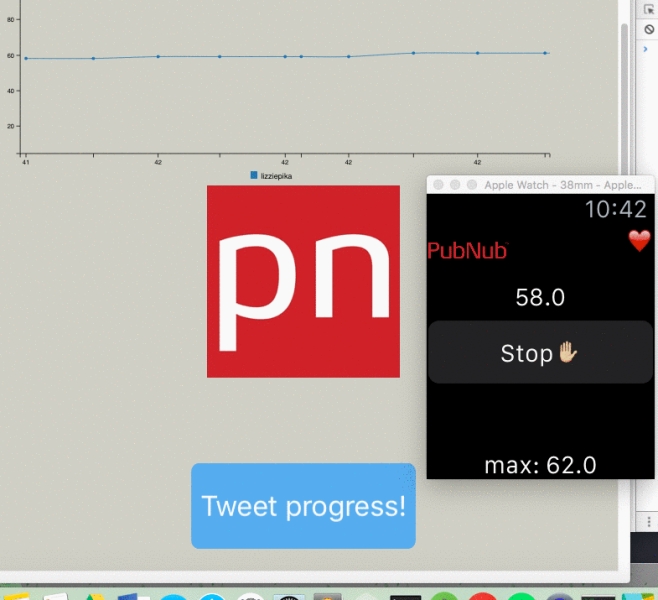
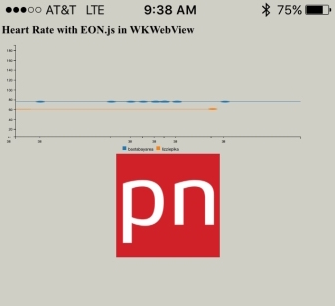
This demo uses HealthKit to access heart rate data, publish it to PubNub, and then use a Raspberry Pi as a medium through which a LED lights up based on heart rate. The iPhone app displays a real-time EON chart, and utilizes Twitter’s fabric to login to Twitter, letting the user tweet at the end of a workout session (something which must be instantiated in order to access heart rate data.)
Project Setup for Multiple Platforms
A lot of data moves between the Watch, the iPhone, and the Raspberry Pi, so buckle up!
Setting up XCode for Apple WatchKit and HealthKit
First things first: In your XCode project, go to File->New->Target, and select WatchOS application on the side. From there, pick WatchKit app -> next, and you’re good to go!
Installing PubNub with CocoaPods
If you have never installed a Pod before, a really good tutorial on how to get started can be found on the CocoaPods official website. Once a podfile is setup, it should contain something like this:
source 'https://github.com/CocoaPods/Specs.git'
use_frameworks!
target 'yourProject' do
    platform :ios, '8.0'
    pod 'PubNub', '~>4.0'
end
target 'yourWatchProject' do
    platform :watchos, '2.2'
    pod 'PubNub', '~> 4.0'
end
target 'yourWatchProject Extension' do
    platform :watchos, '2.2'
    pod 'PubNub', '~>4.0'
end
and then you can pod install.
To set up HealthKit, make sure your project’s HealthKit capabilities are enabled (this is done under Capabilities for your phone app, Watch app, and Watch app Extension targets.) This will give you access to HealthKit permissions, data, methods, and more.
Setting up Fabric for TwitterKit
To incorporate Fabric into your app, you can use Pods or download the Fabric app. Follow these Fabric setup directions.
After installation, your app should have Fabric.framework, TwitterKit.framework, TwitterKitResources.bundle, and TwitterCore.framework.
Setting up Fabric's Crashlytics
To set up a Fabric feature that helps when you need to figure out where a bug went wrong in a piece of code, visit Twitter Fabric's Crashlytics.
iPhone App Setup
In addition to importing the Fabric, PubNub, and TwitterKit libraries, in your AppDelegate file, import:
HealthKit, to give you access to methods you need to access and work with the heart rate data; WatchConnectivity, so your phone app can receive data from the watch.
You need global variables like instances of UIWindow, WCSession, and HKHealthStore, as well as ones of PubNub and PNConfiguration. They are initialized in the init() method:
config = PNConfiguration(publishKey: "your-pub-key", subscribeKey: "your-sub-key")
       client = PubNub.clientWithConfiguration(config)
       client.subscribeToChannels([channel], withPresence: false)
       super.init()
       client.addListener(self)
You will also need a client function, didReceiveMessage. There, you will handle the new messages from the channels your client is subscribed to. In Application:didFinishLaunchingWithOptions(), you subscribe to a WatchConnectivitySession, as well as Fabric, which is how you will develop for mobile with the Twitter API. It should look something like this:
Fabric.with([Twitter.self])
Fabric.with([Crashlytics.self])
self.client.subscribeToChannels([channel], withPresence: false)
if WCSession.isSupported() {
    session = WCSession.defaultSession()
    session!.delegate = self
    session?.activateSession()
}
else {
    print("wcSession not supported")
}
return true
At the very bottom, you’ll extend the AppDelegate to conform to the WCSessionDelegate protocol, declaring a different type of session function like so:
extension AppDelegate: WCSessionDelegate {
    func session(session: WCSession, didReceiveMessage message: [String : AnyObject], replyHandler: ([String : AnyObject]) -> Void) {
        if let hrVal = message["heart rate value"] as? String {
            self.someData.append(hrVal)
        }
    }
Main.storyboard and TwitterViewController in XCode
To distinguish between your app's two ViewControllers, delete your app’s original ViewController and rename it something like TwitterViewController.swift. The simple animated heart below is just for aesthetics, but in the Storyboard, feel free to include a few labels and images.
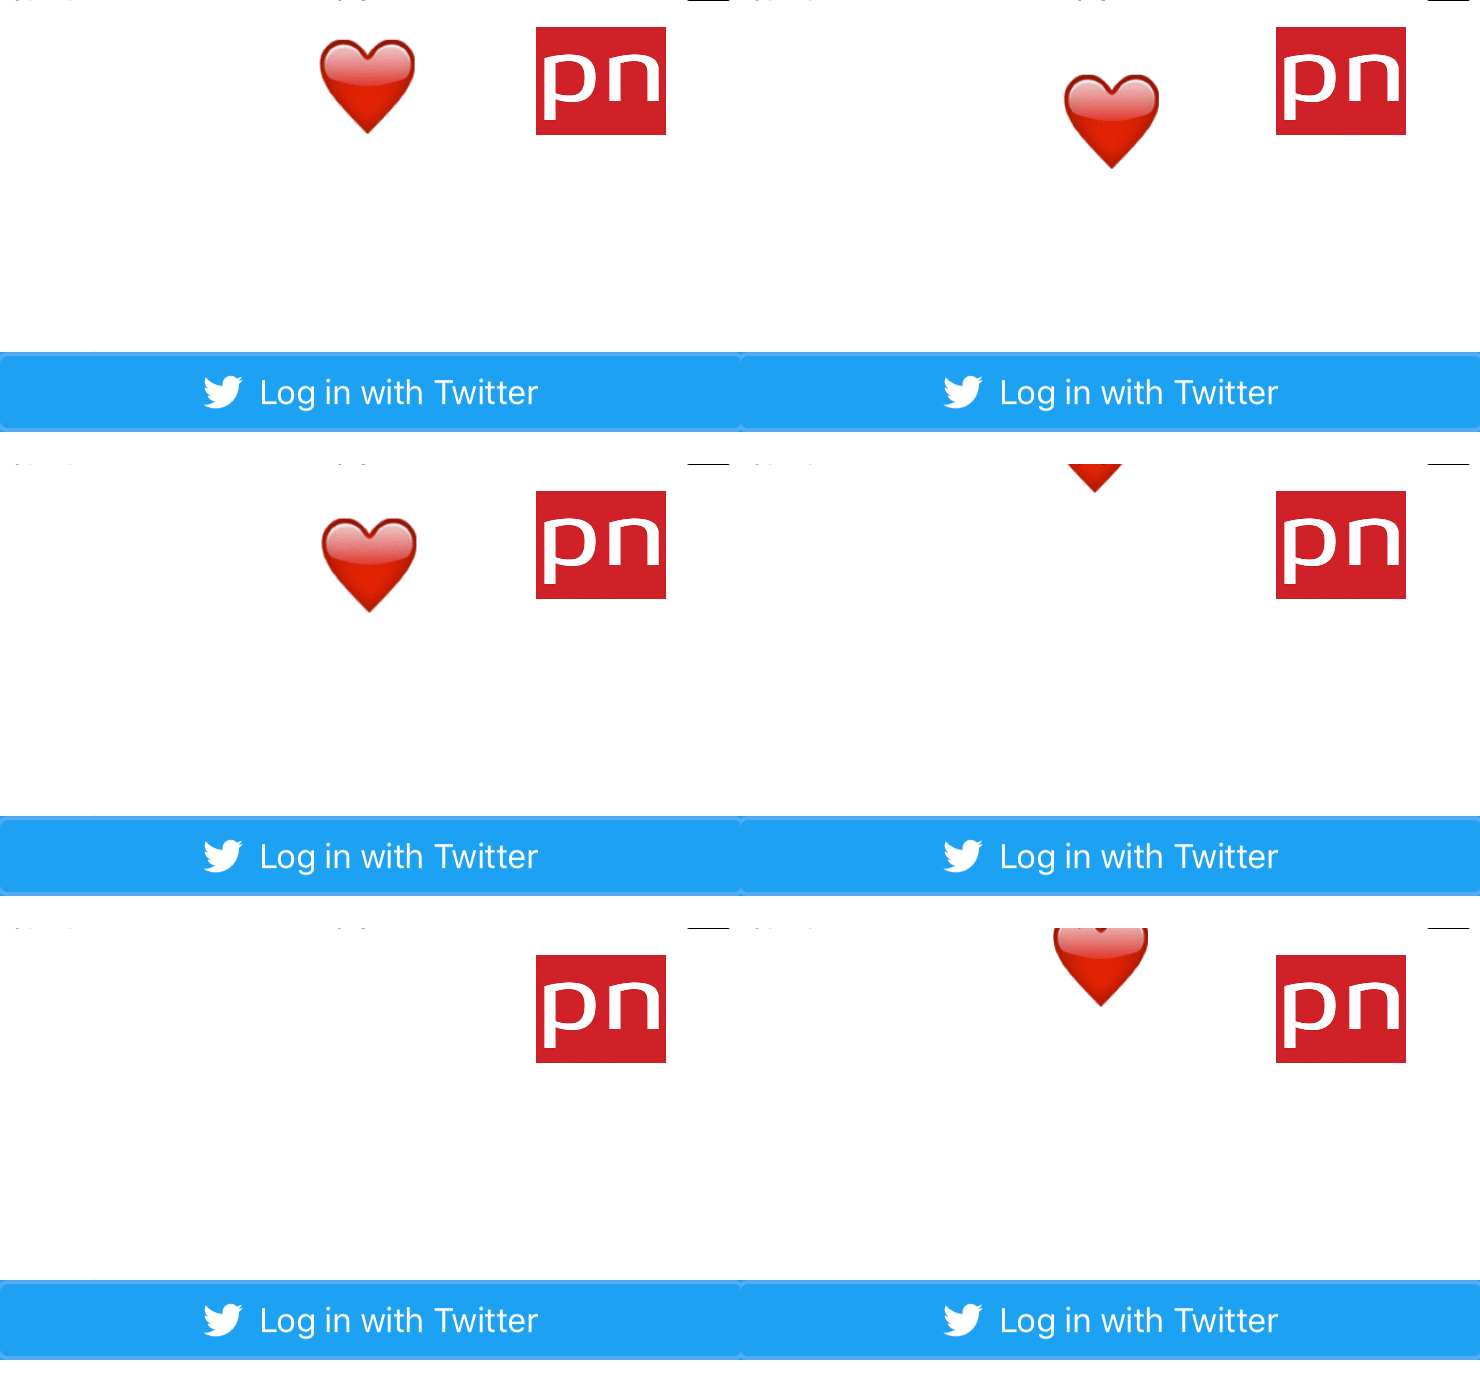
To display a Twitter login button in TwitterViewController, paste this code into viewDidLoad():
let logInButton = TWTRLogInButton { (session, error) in
            if let unwrappedSession = session {
                self.twitterUName = unwrappedSession.userName
                let alert = UIAlertController(title: "Logged In",
                    message: "User \(unwrappedSession.userName) has logged in",
                    preferredStyle: UIAlertControllerStyle.Alert
                )
                alert.addAction(UIAlertAction(title: "OK", style: UIAlertActionStyle.Default, handler: nil))
                self.presentViewController(alert, animated: true, completion: nil)
            } else {
                NSLog("Login error: %@", error!.localizedDescription);
            }

        }
self.view.addSubview(logInButton)
To set the button's location, use CGRectMake. To set the global variable String twitterUName with the username, include the following:
if let sesh = Twitter.sharedInstance().sessionStore.session() {
            let client = TWTRAPIClient()
            client.loadUserWithID(sesh.userID) { (user, error) -> Void in
                if let user = user {
                    self.twitterIDLabel.text = user.screenName
                    print("@\(user.screenName)")
                    self.twitterUName = user.screenName
                }
            }
        }
To decorate the button, and any other buttons you may want to include (like a segue), play around with attributes like masksToBounds, borderWidth, cornerRadius, and more.
Setting up Code in HRViewController
Create a second ViewController. Because this is where the real-time EON graph will be displayed, you will need to set up a WKWebView. There is so much code for this that you should get it from the project's GitHub repo, but if you want to understand WebViews in more depth, read this NSHipster WKWebKit documentation, or this AppCoda Webkit Framework tutorial. After you have WKWebView set up here, don’t forget to go into your phone app’s PList, go down to App Transport Security Settings, and set Allow Arbitrary Loads to YES. You could also do this programmatically by opening up the PList in a text editor, finding NSAppTransportSecurity, and using the following code to set the boolean NSAllowsArbitraryLoads to true.
<key>NSAppTransportSecurity</key>
  <dict>
    <key>NSAllowsArbitraryLoads</key>
    <true/>
  </dict>
To go more in depth with App Transport Security, check out this info PList Key Reference Apple documentation.
HTML Page for Project EON
Create a new empty HTML file. In this demo, it is eon.html, and has the following code in the head:
<script type="text/javascript" src="http://pubnub.github.io/eon/v/eon/0.0.11/eon.js"></script>
     <link type="text/css" rel="stylesheet" href="http://pubnub.github.io/eon/v/eon/0.0.11/eon.css" />
Next, in JavaScript, you will create the EON graph that will subscribe to the PubNub channel. After being attached to an HTML div, it will display real-time data it was subscribed to.
var pbIOSWeb = PUBNUB({
    subscribe_key: 'your-sub-key'
});
var chan = "your-channel";
eon.chart({
    pubnub: pbIOSWeb,
    channel: chan,
    history: false,
    flow: true,
    generate: {
        bindto: '#chart',
        data: {
            type: 'spline'
        },
        axis : {
            x : {
                type : 'timeseries',
                tick : {
                    format :'%M'
                } //tick
            }, //x
            y : {
                max: 200,
                min: 10
            } //y
        } //axis
    }, //gen
    transform: function(dataVal) {
        var eon = {};
	eon[dataVal.username] = dataVal.heartRate;
	return eon;
    }
});
In this case, the data is formatted in the transform function, which takes in data dataVal. As the data is already being published from the Watch, you only need a subscription key here. If no data is showing, it is (from my experience) either an error with App Transport Security or the transform function, so check the PList again or visit one of the links mentioned above.
Overview-Connecting the Phone and the Watch
This is perhaps the hardest part of this project. The iPhone is not necessarily “reachable” during every WCSession, and, when much data gets transferred between devices, sometimes it does not send, having nothing to do with you or your code.
Now, it is time to begin work on the Watch app!
Code Setup in Watch's ExtensionDelegate
This is the Watch equivalent of the phone’s AppDelegate. You only need to import PubNub here, and declare an optional PubNub client before calling the method unsubscribeFromAll() on that client in the applicationWillResignActive() method.
Apple Watch Storyboard
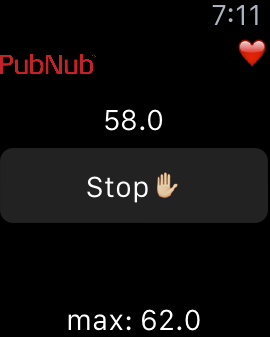
With the tiny screen on the Apple Watch, a simple, uncluttered design is extremely important, and goes a long way. In this file, drag a group, three labels, and a button onto the storyboard. Here, one label says PubNub, another is a heart emoji, and another shows the actual heart rate. The PubNub and heart ones should be contained in the group view, and the heart rate label and button will be outside, below the group. Don’t forget to connect them to the InterfaceController before moving on to the next step.
Workout Session and More in InterfaceController
Mentally prepare yourself, because a lot happens in this file: creating an instance of a Workout, asking permission to access HealthKit data (which includes data like heart rate), publishing that data to PubNub, sending that data from the Watch to the Phone in a WatchConnectivity session, and more. Just below your outlet labels, declare the following global variables:
var client: PubNub?

    let healthStore = HKHealthStore()

    let watchAppDel = WKExtension.sharedExtension().delegate! as! ExtensionDelegate
    var publishTimer = NSTimer()
    var wcSesh : WCSession!

    var currMoving:Bool = false //not working out

    var workoutSesh : HKWorkoutSession?
    let heartRateUnit = HKUnit(fromString: "count/min")
    var anchor = HKQueryAnchor(fromValue: Int(HKAnchoredObjectQueryNoAnchor))
Whenever you need to use HealthKit data, you’ll need an instance of HKHealthStore() to request permission, start, stop, and manage queries, and more.
Right after the global variables, initialize your PubNub Configuration:
override init() {
        let watchConfig = PNConfiguration(publishKey: "your-pub-key", subscribeKey: "your-sub-key")

        watchAppDel.client = PubNub.clientWithConfiguration(watchConfig)

        super.init()
        watchAppDel.client?.addListener(self)
    }
Create an override func willActivate(), which is also where you check if a WatchConnectivity Session is supported (this is reused code from the iPhone app). Based on what permissions your app has, different text will be displayed.
guard HKHealthStore.isHealthDataAvailable() == true else { //err checking/handling
            label.setText("unavailable🙀")
            return
        }

        guard let quantityType = HKQuantityType.quantityTypeForIdentifier(HKQuantityTypeIdentifierHeartRate) else {
            displayUnallowed() //only display if Heart Rate
            return
        }

        let dataTypes = Set(arrayLiteral: quantityType)
        healthStore.requestAuthorizationToShareTypes(nil, readTypes: dataTypes) { (success, error) -> Void in
            guard success == true else {
                self.displayUnallowed()
                return
            }
        }
}
This code requests permission if there is none to access heart rate data, and creates a WatchConnectivity Session that is used later to send an array of heart rate values to the phone. With this array of values, you can tweet out a more specific tweet that includes said data.
Now, how do you get the heart rate? By creating a workout session, specifying the workout type, and then making a streaming query!
func beginWorkout() {
        self.workoutSesh = HKWorkoutSession(activityType: HKWorkoutActivityType.CrossTraining, locationType: HKWorkoutSessionLocationType.Indoor)
        self.workoutSesh?.delegate = self
        healthStore.startWorkoutSession(self.workoutSesh!)
    }

    func makeHRStreamingQuery(workoutStartDate: NSDate) -> HKQuery? {

        guard let quantityType = HKObjectType.quantityTypeForIdentifier(HKQuantityTypeIdentifierHeartRate) else { return nil }

        let heartRateQuery = HKAnchoredObjectQuery(type: quantityType, predicate: nil, anchor: anchor, limit: Int(HKObjectQueryNoLimit)) { (query, sampleObjects, deletedObjects, newAnchor, error) -> Void in
            guard let newAnchor = newAnchor else {return}
            self.anchor = newAnchor
            self.updateHeartRate(sampleObjects)
        }

        heartRateQuery.updateHandler = {(query, samples, deleteObjects, newAnchor, error) -> Void in
            self.anchor = newAnchor!
            self.updateHeartRate(samples)
         }
        return heartRateQuery
    }
Quantity type is how you would get access to other health data like steps, but in this tutorial, you just want HKQuantityTypeIdentifierHeartRate. WKWorkoutSession is how you request access to the heart rate data because at the moment, developers lack access to the actual heart rate sensors.
The heartRateQuery is how the HealthKit heart rate data is received. Here, it is constantly being streamed until the start/stop button is pressed.
The code to publish this data should look something like this:
watchAppDel.client?.publish(hrValToPublish, toChannel: "Olaf", withCompletion: { (status) -> Void in
           if !status.error {
               print("\(self.hrVal) has been published")

           } //if

           else {
               print(status.debugDescription)
           } //else
       })
This publishing is called from another function, the publishTimerFunc() function, because you do not need to publish heart rate data constantly; does it really matter if the value goes up by one or stays the same for a few seconds? This function contains just one line:
publishTimer = NSTimer.scheduledTimerWithTimeInterval(10.0, target: self, selector: #selector(InterfaceController.publishHeartRate), userInfo: nil, repeats: true)
The first parameter of scheduledTimerWithTimeInterval takes the number of seconds between each execution of the function you want to run in intervals. That function is called by #selector.
To continuously update the heart rate label, you should use dispatch_async, which is background threading, or Swift's version of Grand Central Dispatch.
func updateHeartRate(samples: [HKSample]?) {
        guard let heartRateSamples = samples as? [HKQuantitySample] else {return}

        dispatch_async(dispatch_get_main_queue()) {
            guard let sample = heartRateSamples.first else{return}
            self.hrVal = sample.quantity.doubleValueForUnit(self.heartRateUnit)
            let lblTxt = String(self.hrVal)
            self.label.setText(lblTxt)
            self.maxHRLabel.setText("max: " + String(self.maxArr))
            self.deprecatedHRVal = Double(round(1000*self.hrVal)/1000)
            self.arrayOfHR.append(self.deprecatedHRVal)
            self.maxArr = self.arrayOfHR.maxElement()!
            print("maxArr: " + String(self.maxArr))
            repeat {
                self.publishTimerFunc()
            } while(self.currMoving == false)
        } //dispatch_async
    } //func
Here, the heart rate label on the Watch is updated, and an array is created of heart rate values. The maximum is found, and also updated on the Watch face.
Monitoring the Heart Rate with Raspberry Pi
The final part of this project is the hardware. To get started, check out this introductory PubNub and Raspberry Pi tutorial. You need 4 M-F jumper wires, a Common-cathode RGB-LED, 3 resistors, a breadboard, and a Raspberry Pi. First, hook up the Raspberry Pi to the breadboard with cables as shown below.

Based on the beats per minute, the LED flashes on and off at different speeds.
Final Thoughts
There are many components to this app, and hopefully you learned something about developing for the Watch, using EON on platforms other than web, or building mobile apps with Fabric. Maybe you also got some inspiration for future projects!
How could this be taken further?
-Do more with Fabric. I was surprised at how easy it was to integrate Twitter API features into this app, and there is so much to do with other features like Crashlytics, Answers, and more.
-Work more with hardware and displaying or doing something based on heart rate. I looked at music APIs, and getting BPM in songs, which could also be fun to work with.
Full code is on GitHub.