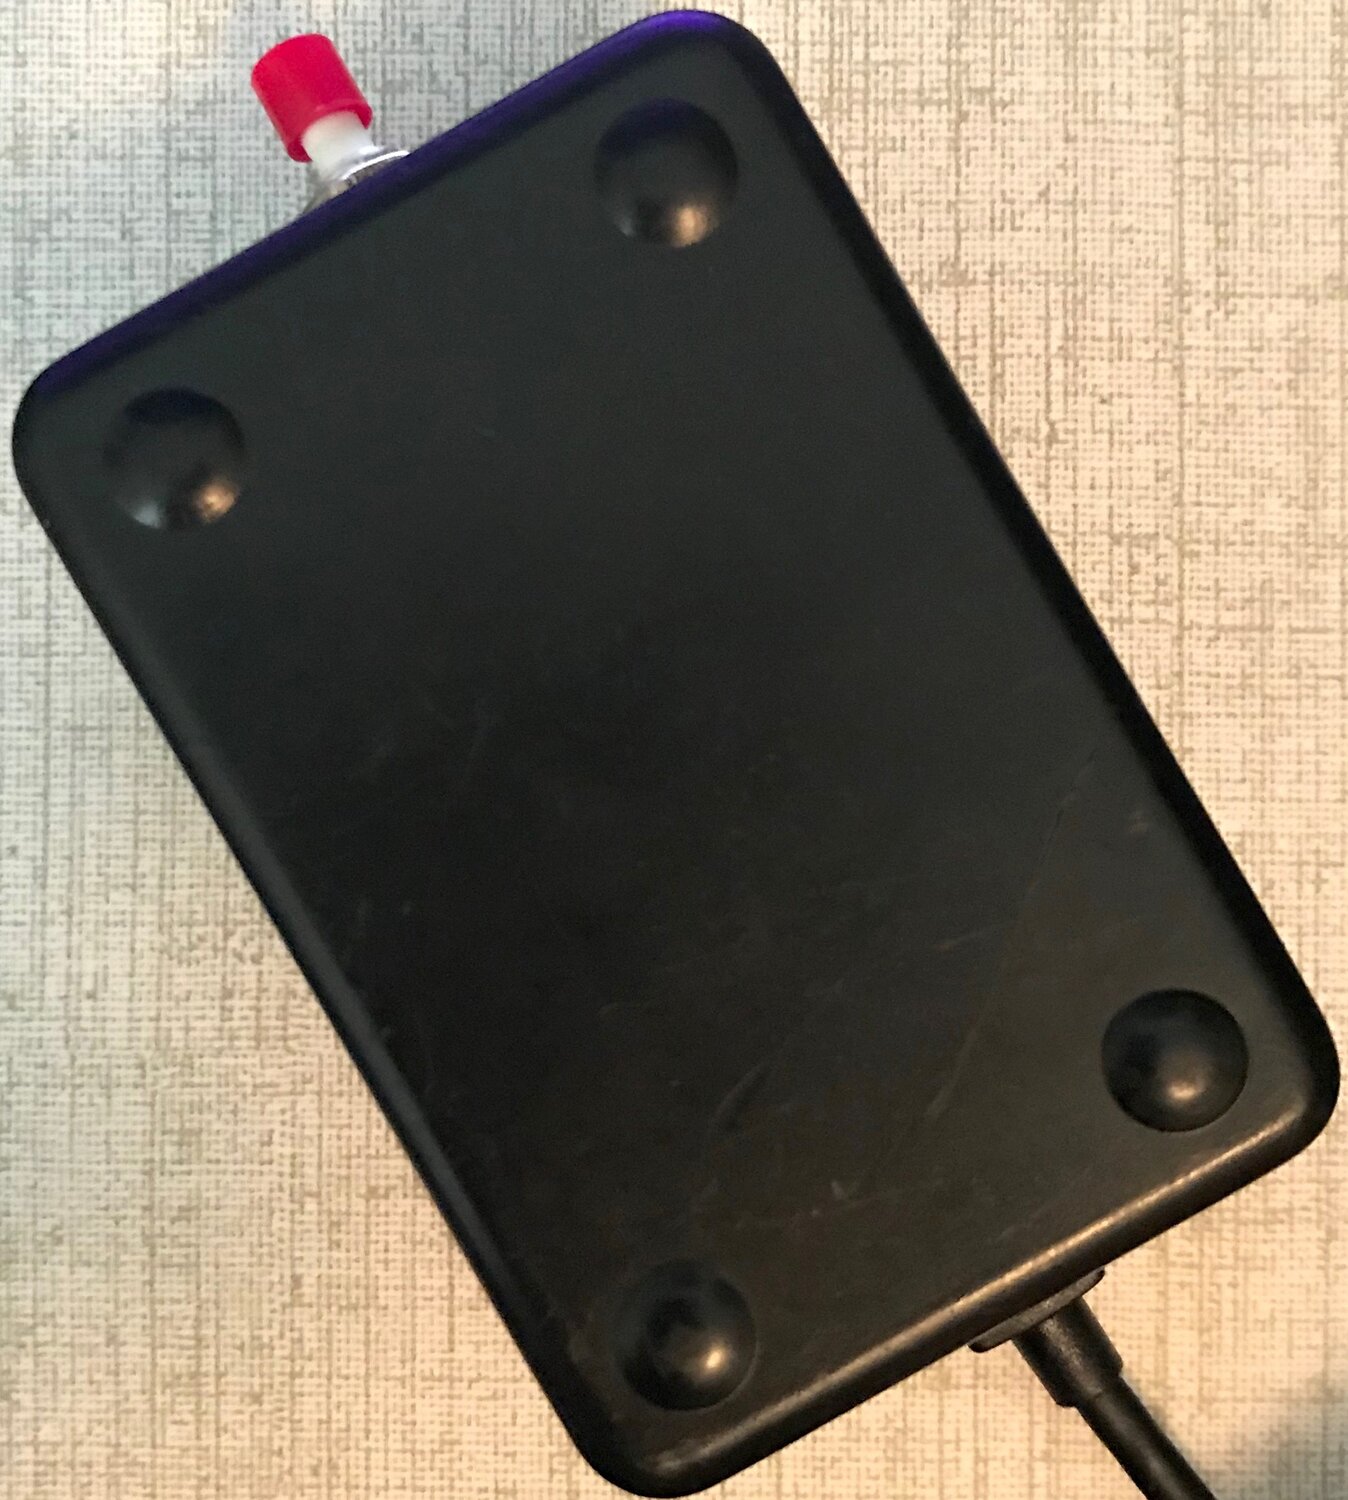
Smart home buttons are simple to use and are able to trigger multiple functions from a single press. Using PubNub and Arduino you can build a WiFi-enabled smart button that can be used for anything. We are going to build a smart button that'll be used as a smart doorbell in a later tutorial, but you can do things like:
- Dim the lights and play mood music.
- Build your own Amazon IoT Dash Button.
- Flash all the exterior lights, in an instant, to scare an intruder.
In this tutorial, we'll cover how to use the PubNub Arduino SDK to send alerts from a MKR1000 development board using a built-in ATWINC1500 WiFi module.
Build an IoT Smart Button
Our button will be simple. You only need two things:
- A push button.
- A MKR1000 development board.
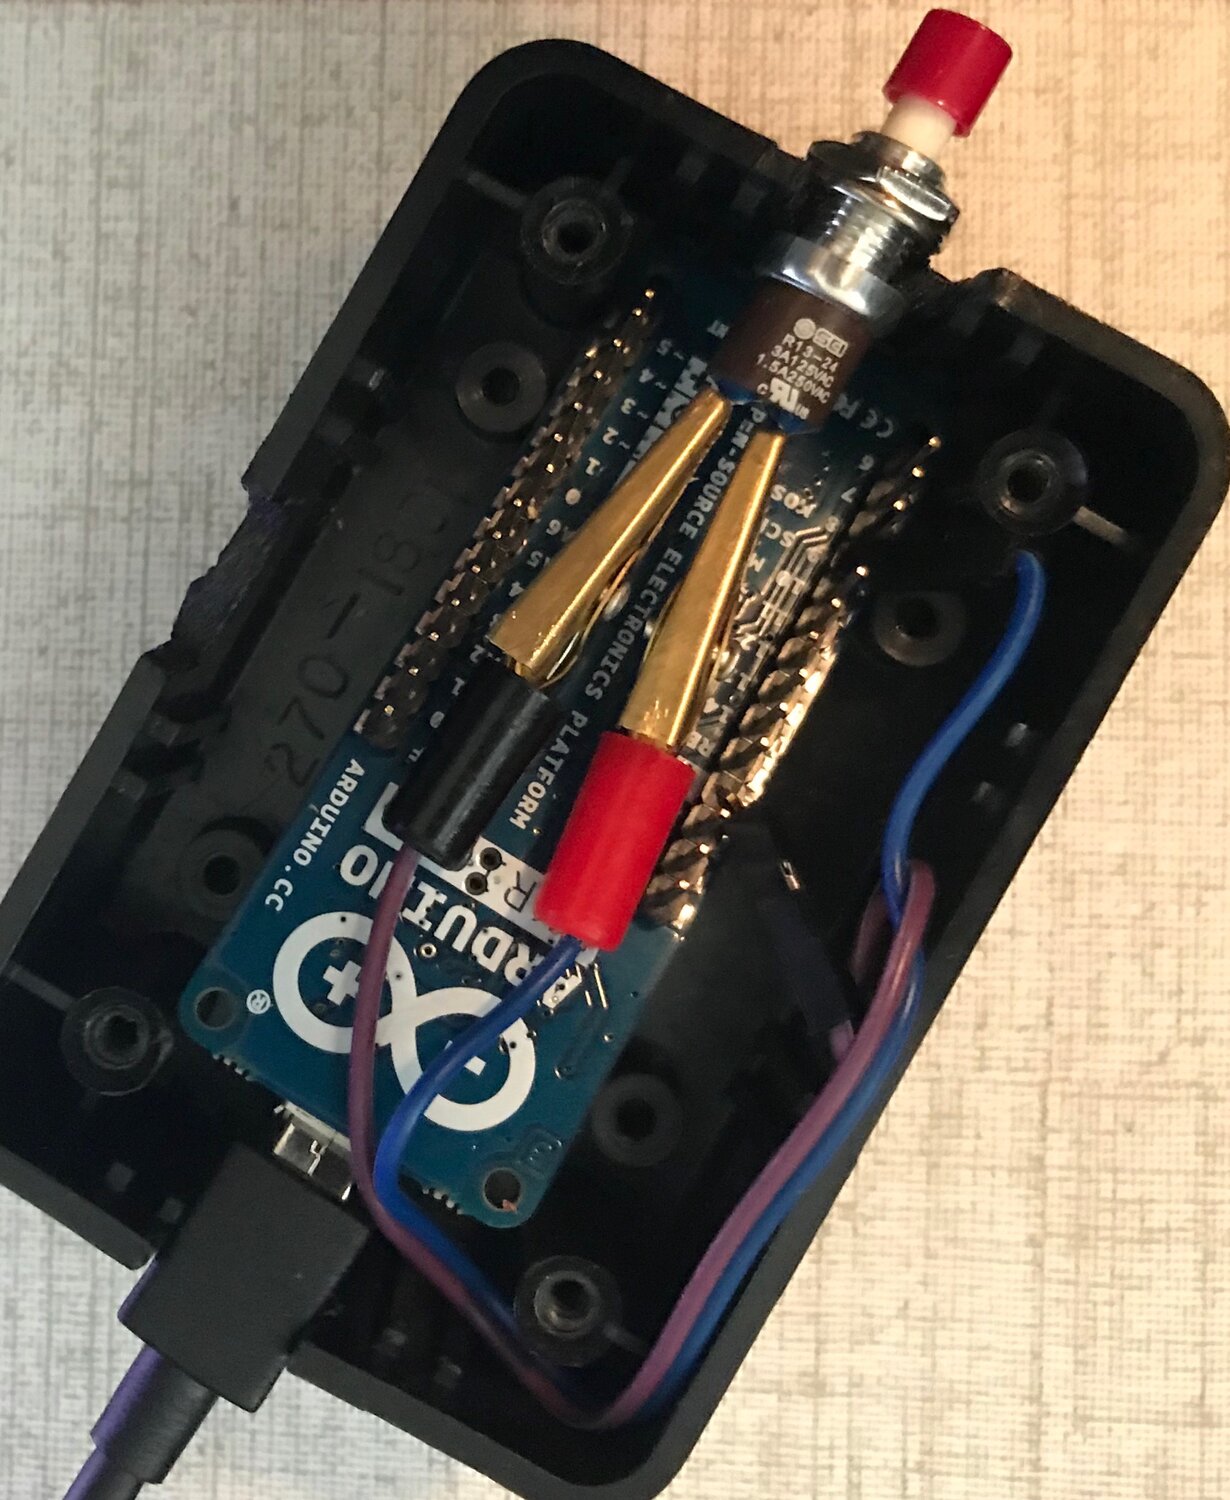
Connect the button to pin 9 and ground. We'll use an interrupt to monitor the button press.
This is what the inside of my button looks like (it was a tight fit):
Getting Started
Download and install the latest Arduino IDE. Arduino 1.8.9 on macOS Mojave was used to make this tutorial.
Next, sign up for an always free PubNub account. Once you sign up, you can get your unique PubNub keys from the PubNub Admin Dashboard. Sign up using the form below:
Arduino IDE Setup
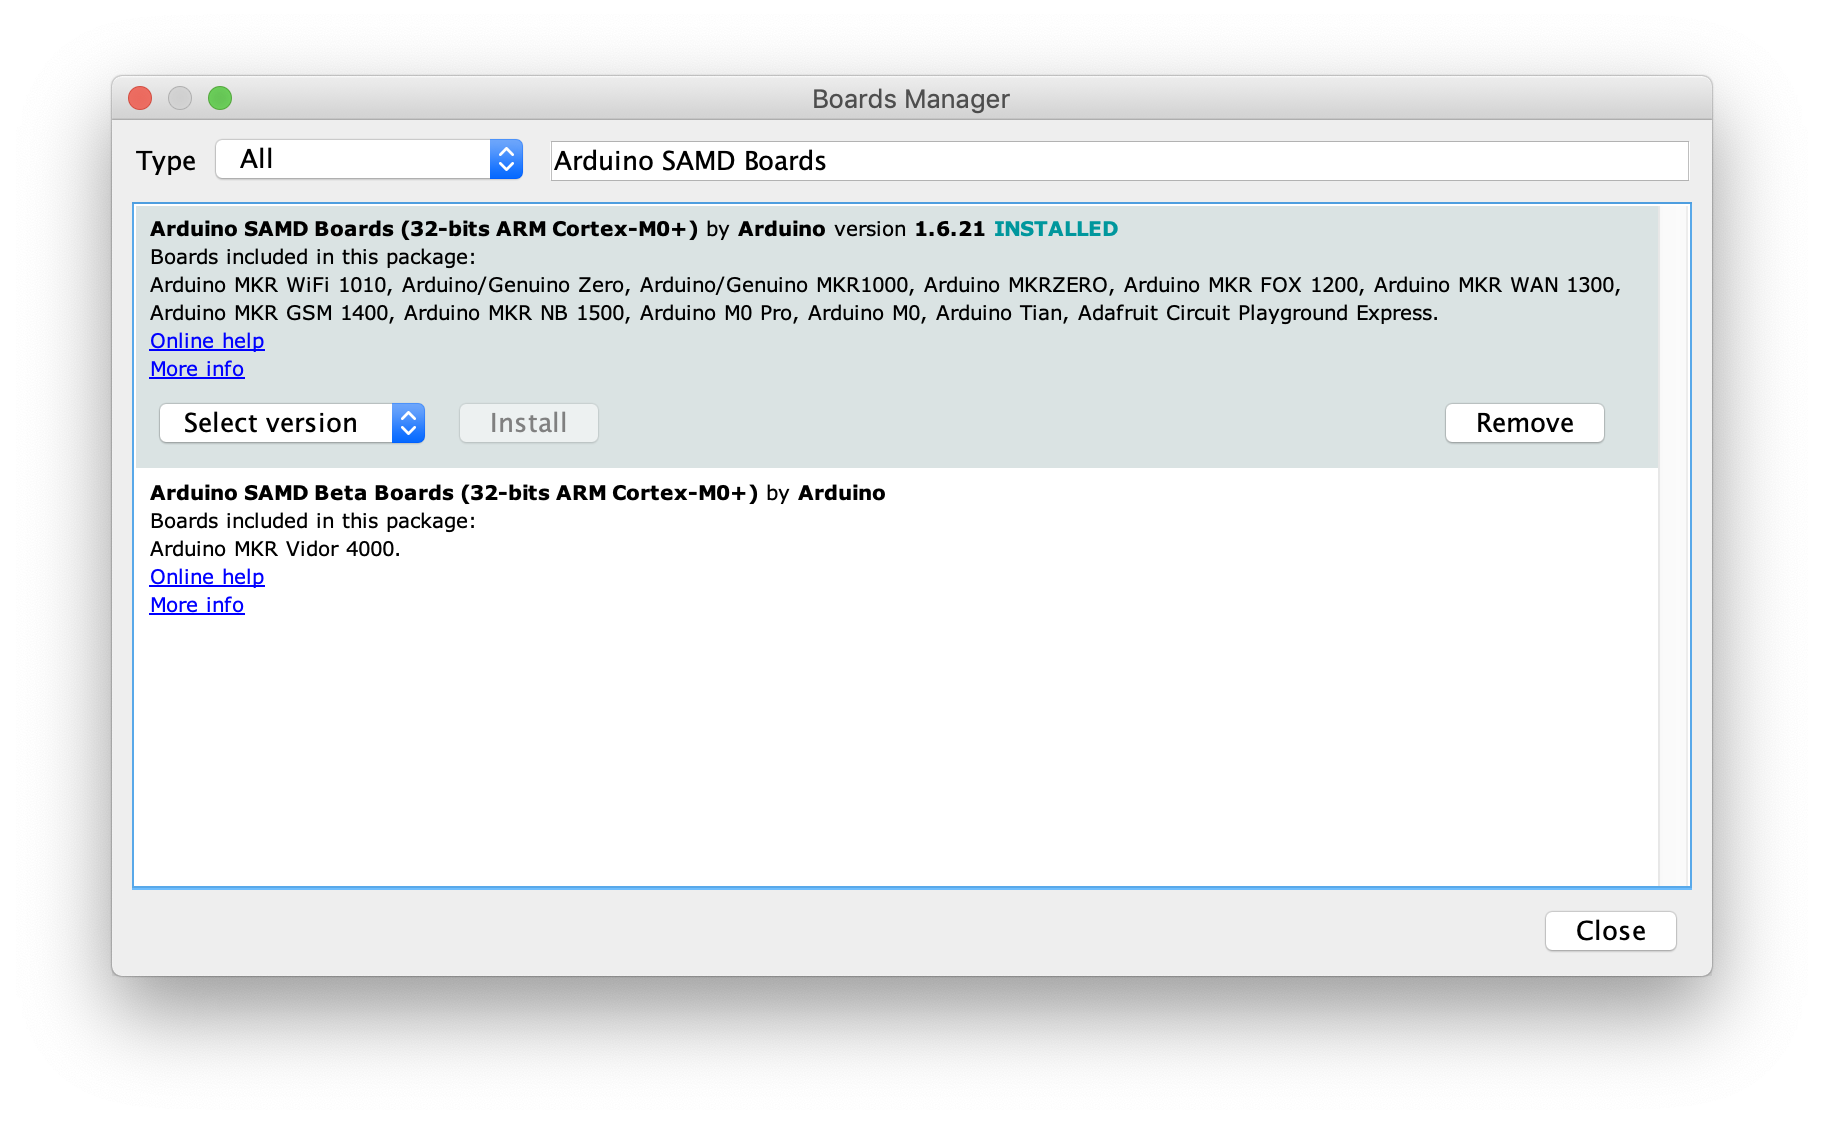
You'll need to add the MKR1000 in the Boards Manager before you can use the MKR1000 with the Arduino IDE
Open the Arduino IDE and navigate to the Board Manager by going to Tools > Boards > Boards Manager. Search for “Arduino SAMD Boards”. Install Arduino SAMD Boards (32bits ARM Cortex-M0+).
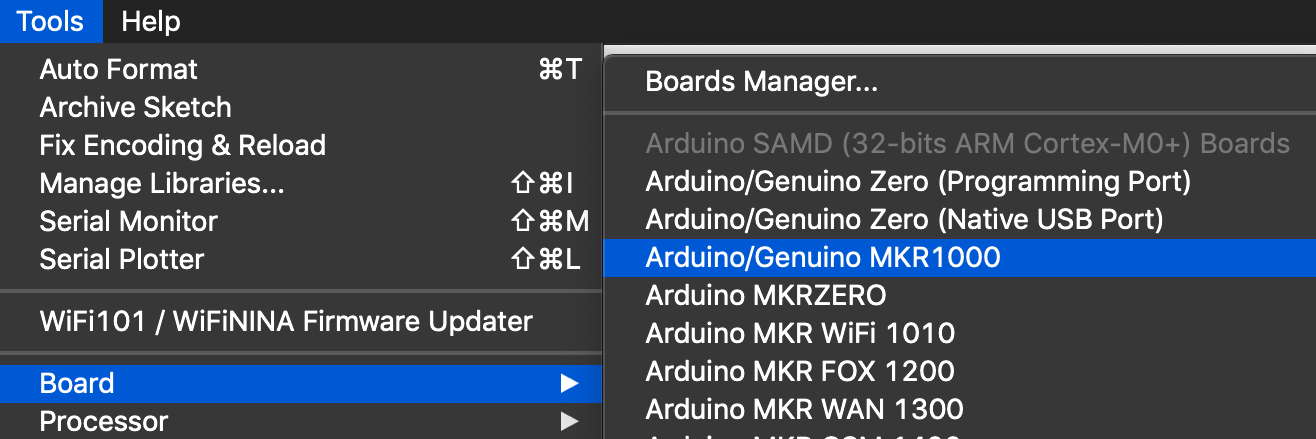
Select the port that your board is connected to under Tools > Port. Select the board for use by going to Tools > Boards.
Install PubNub Arduino SDK
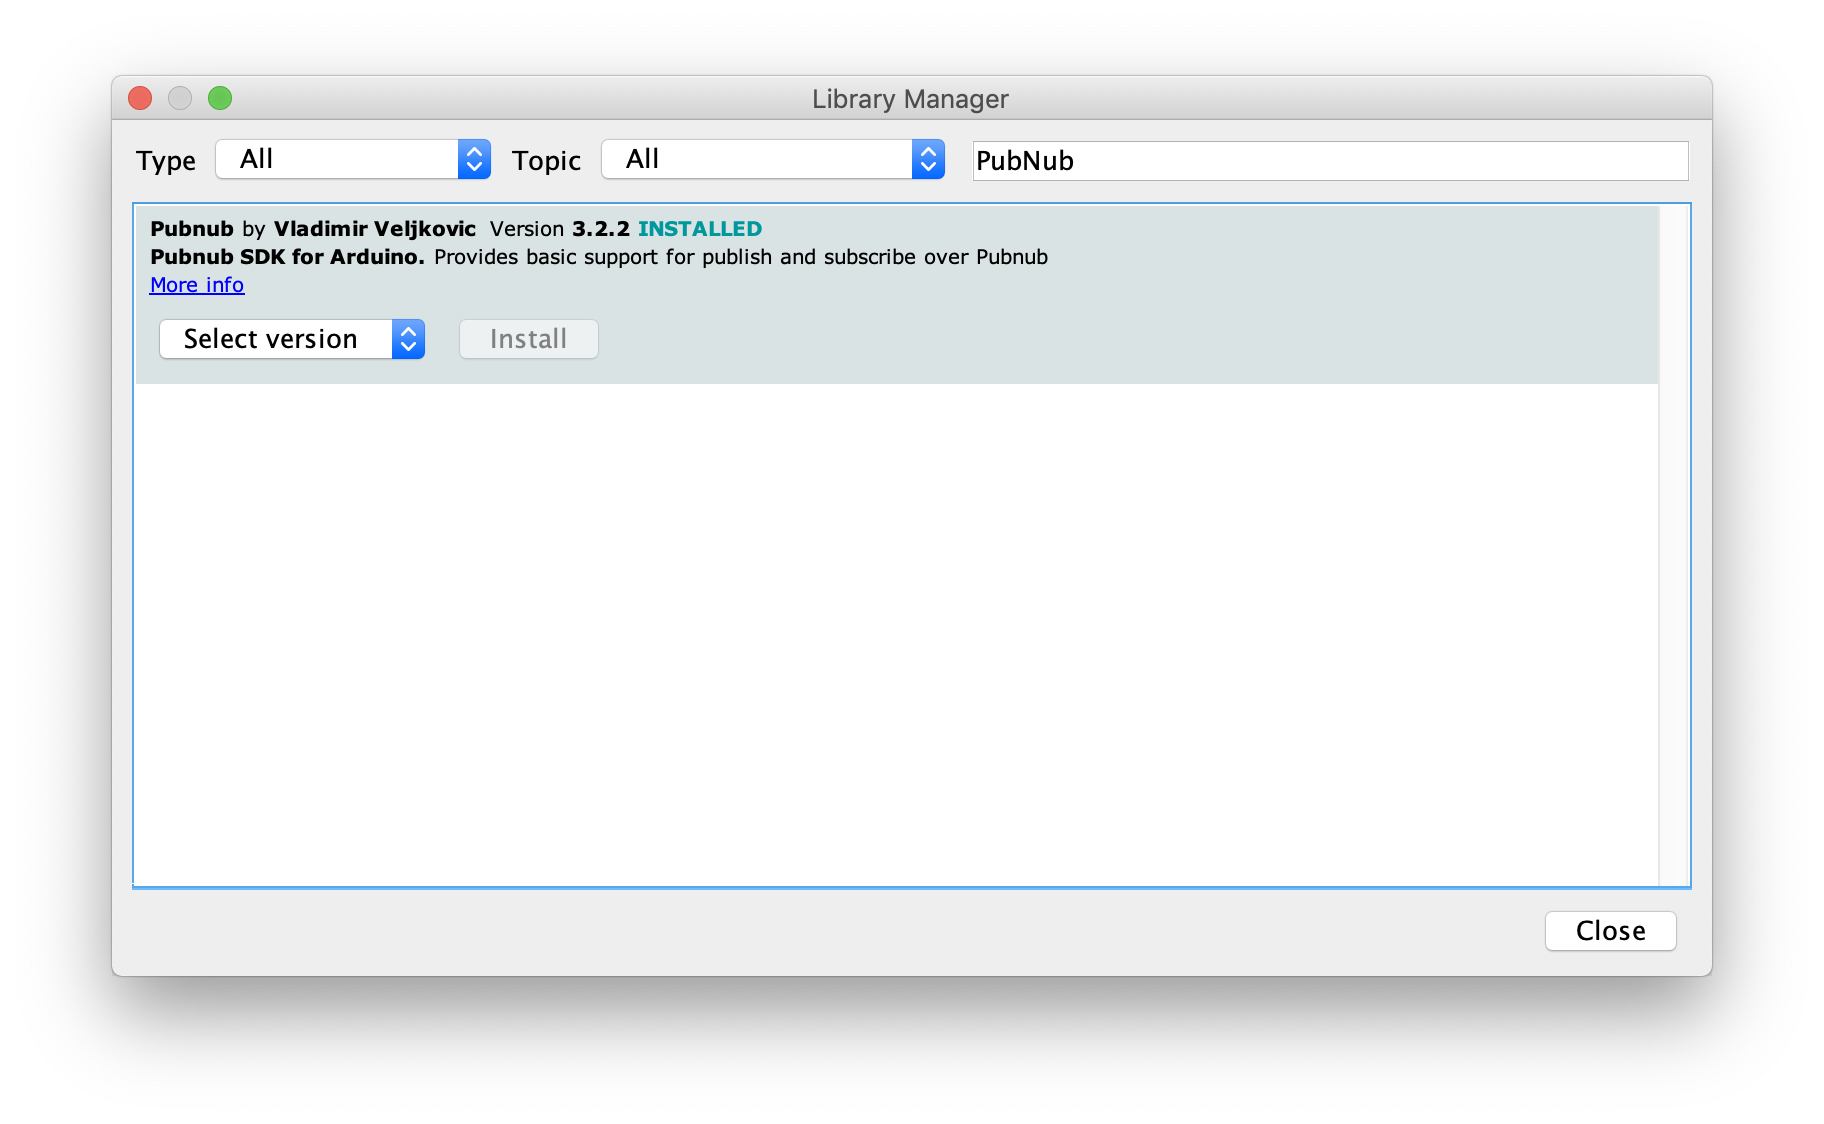
Install the PubNub Arduino SDK by going to Sketch > Include Library > Manage Libraries. Search for “PubNub”. Then select Install.
Uploading to the Board
Create a new sketch (File > New) with the following code:
#include <WiFi101.h>
#define PubNub_BASE_CLIENT WiFiClient
#include <PubNub.h>

const static char ssid[] = "YOUR_NETWORK_SSID";
const static char pass[] = "YOUR_NETWORK_PASSWORD";

void setup() {
    Serial.begin(9600);
    pinMode(9, INPUT_PULLUP);
    if(WiFi.begin(ssid, pass) != WL_CONNECTED) { // Connect to WiFi.
       Serial.println("Can't connect to WiFi.");
       while(1) delay(100);
    }
    else {
      //Serial.print("Connected to SSID: ");
      //Serial.println(ssid);
      PubNub.begin("YOUR_PUB_KEY_HERE", "YOUR_SUB_KEY_HERE"); // Start PubNub.
      Serial.println("PubNub connected.");
    }
}

void loop() {
    if (digitalRead(9) == HIGH) {
      Serial.println("Button pressed.");
      char msg[] = "{\"event\":{\"button\":\"pressed\"}}";
      WiFiClient* client = PubNub.publish("smart_buttons", msg); // Publish message.
      if (0 == client) {
          Serial.println("Error publishing message.");
          delay(1000);
          return;
      }
      client->stop();
      delay(1000);
    }
    delay(100);
 }
Get your unique PubNub keys from the PubNub Admin Dashboard. If you don’t have a PubNub account, you can sign up for a PubNub account for free.
Replace “YOUR_PUB_KEY_HERE” and “YOUR_SUB_KEY_HERE” with your keys.
Replace “YOUR_NETWORK_SSID” and “YOUR_NETWORK_PASSWORD” with your WiFi settings.
Be sure that you select the port that your board is connected to under Tools > Port and select the board for use by going to Tools > Boards.
Upload the sketch (Sketch > Upload).
Testing the Smart Button
We're using an interrupt to monitor the button press. When a press occurs, we'll send a message to the “smart_buttons” channel with the event details.
Use the Arduino Serial Monitor to verify you’re able to connect to WiFi and publish your event over the PubNub Data Stream Network.
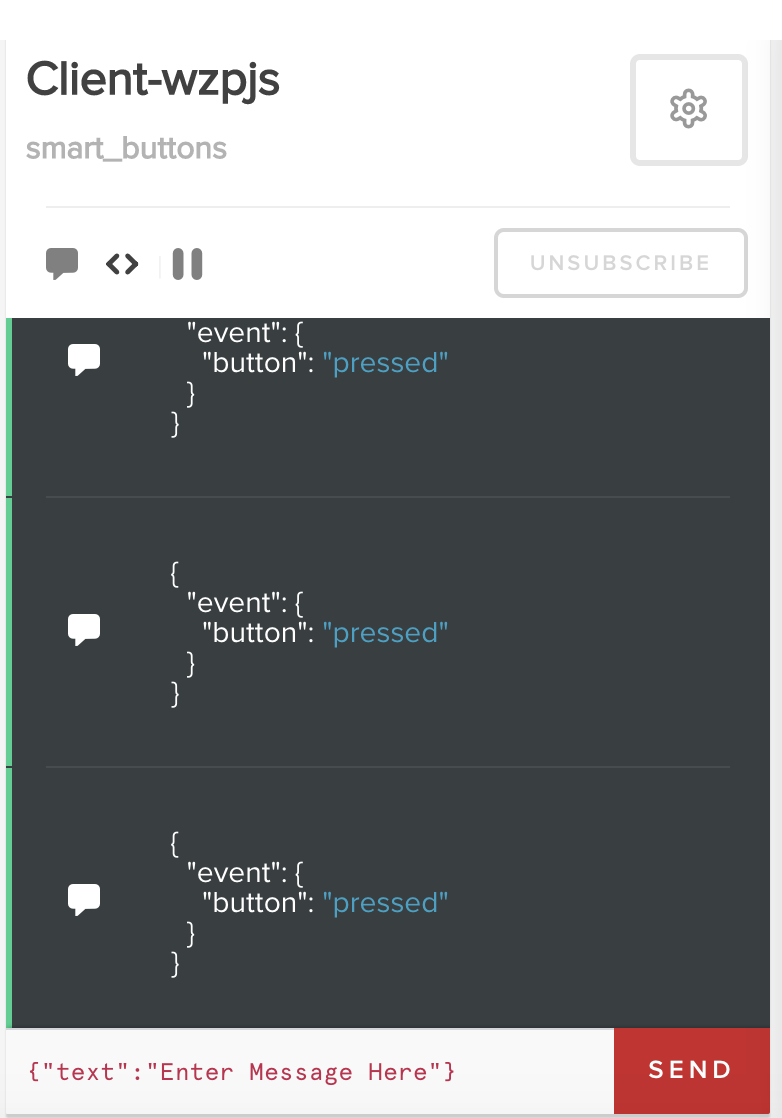
Verify the event is making it to PubNub by going to your PubNub Admin Dashboard, select the keys you created previously, and create a client in the Debug Console. Set the “Default Channel” to “smart_buttons” and leave the other fields blank. Click “ADD CLIENT”.
You should see messages when you press the button.
What's Next?
Next, we'll build a React Native app to receive a button press alert and view the press history.
What else can I do with my Smart Button?
- Control your lights.
- Link with an IFTTT recipe.
- Build your own Amazon Dash Button.
Have suggestions or questions about the content of this post? Reach out at devrel@pubnub.com.
