When developing an application with chat, React Native allows you to develop for both Android and iOS from a single code base.
This React chat app tutorial will walk you through developing a React Native chat app using the Expo framework and PubNub chat components. Chat components are ready-made building blocks that you can use to either create chat apps from scratch or add chat features to existing applications.
Features of this React Native chat app tutorial include:
How to recreate the Getting Started sample from scratch
The Message List component to show the received messages
The Message Input component to compose and send new messages
The Typing Indicator component to notify other parties that somebody is typing
How to customize chat components
Chat cross-platform between Android and iOS
The source code for the React Native chat components “getting started” sample can be found on GitHub at https://github.com/pubnub/react-chat-components/tree/master/samples/react-native/getting-started. It uses Expo and TypeScript so to keep things consistent, this tutorial will do the same.
1
More and more PubNub developers are choosing to develop chat apps with React Native. Applying React principles to mobile development, React Native allows developers to create fast, responsive and beautiful applications on both Android and iOS from the same code base.
As React becomes an increasingly popular choice for web developers, so to does React Native become a good choice for those same developers now targeting mobile and PubNub allows you to easily add chat to your React Native app.
The Expo CLI (npm install expo-cli --global)
Expo, in turn, has dependencies of its own, including Node.js LTS and Git. It is recommended that you follow the requirement links listed under Expo CLI. You do not need an Expo account to build or run this application.
A code editor such as Visual Studio Code
Xcode (optional - for iOS simulator)
Android Studio (optional - for Android emulator)
To check you have everything successfully installed you can run:
1
Which will output your current expo version
This tutorial will start by creating a new application.
If you have any difficulties creating the app, you can use the sample at https://github.com/pubnub/react-chat-components/tree/master/samples/react-native/getting-started to follow along with the rest of the tutorial. At the time of writing, the most recent commit ID in this repository is af41ca7.
This first step of the tutorial will walk you through creating an application from scratch whose functionality matches the ‘Getting Started’ app provided in the chat components GitHub repository.
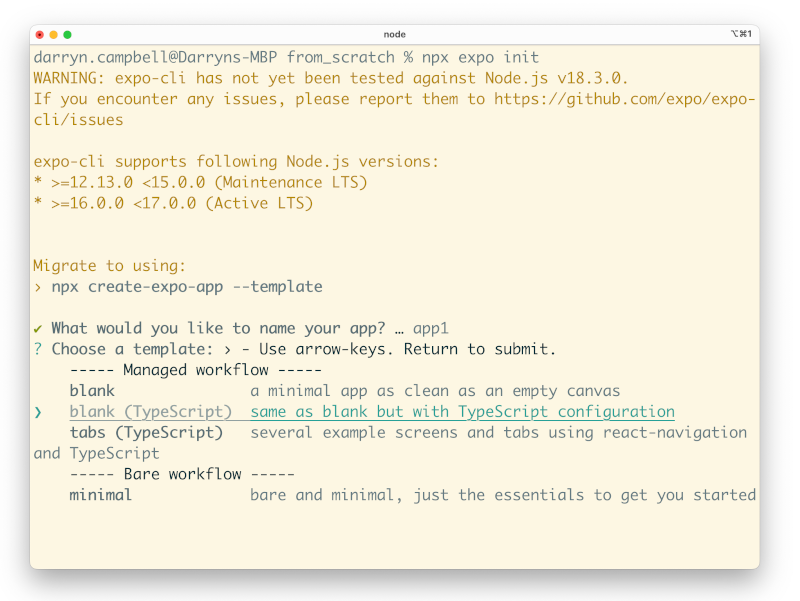
Create a new app with Expo. Open a terminal or command window and type the following:
1
Give your application a name, say app1, and choose the blank (Typescript) workflow. This is not the default option so you will need to scroll down

Change directory into the created app
1
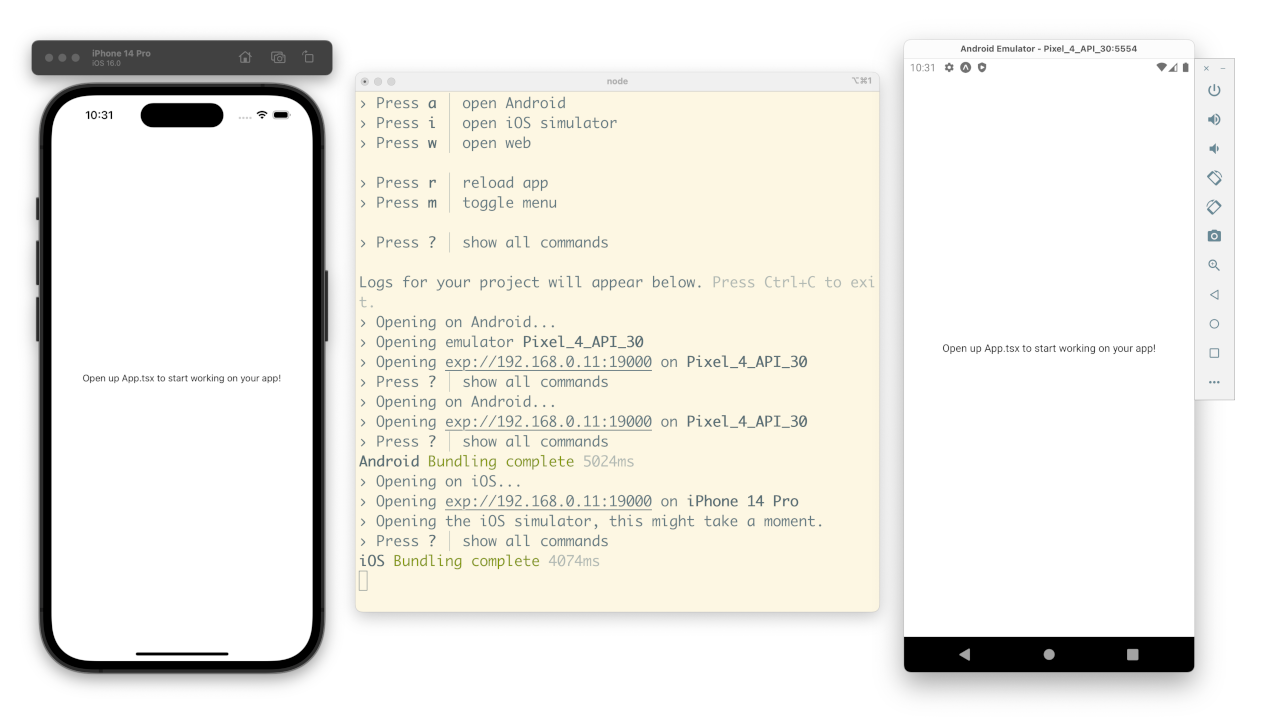
Start the application with Yarn and follow the instructions to start the Android emulator (type ‘a’) and the iOS simulator (type ‘i’) if you are running on a mac. Note that the web variant of the app will not be covered by this tutorial.
1
You should see the default app running on both platforms.

A note for Windows users: Although this tutorial will show screenshots of the application running cross-platform on both Android and iOS, you can still chat between devices by running two Android emulators. Whilst this is slightly more convoluted to set up, the process is explained well at https://github.com/expo/expo-cli/issues/2809, described in the ‘Workaround for Linux’ section. In summary, retrieve the expo URL and start the application using adb on each named emulator, for example:
1
The official getting started sample has a dedicated single screen for chat and renders the contents in a way that accommodates the keyboard appearing on iOS or Android. For consistency, we will modify our newly created app to match this structure.
In the terminal, install the safe-area package
1
Open the application in the code editor of your choice.
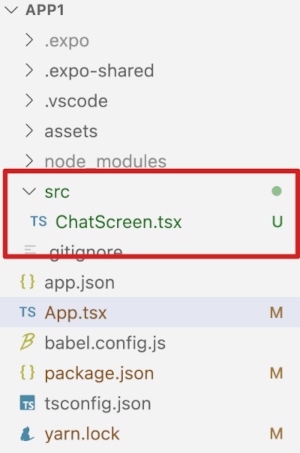
Create a new folder called ‘src’ at the root of the project and a new file called ‘ChatScreen.tsx’ within the new ‘src’ folder.

Populate ChatScreen.tsx as follows:
1
Modify App.tsx as follows:
1
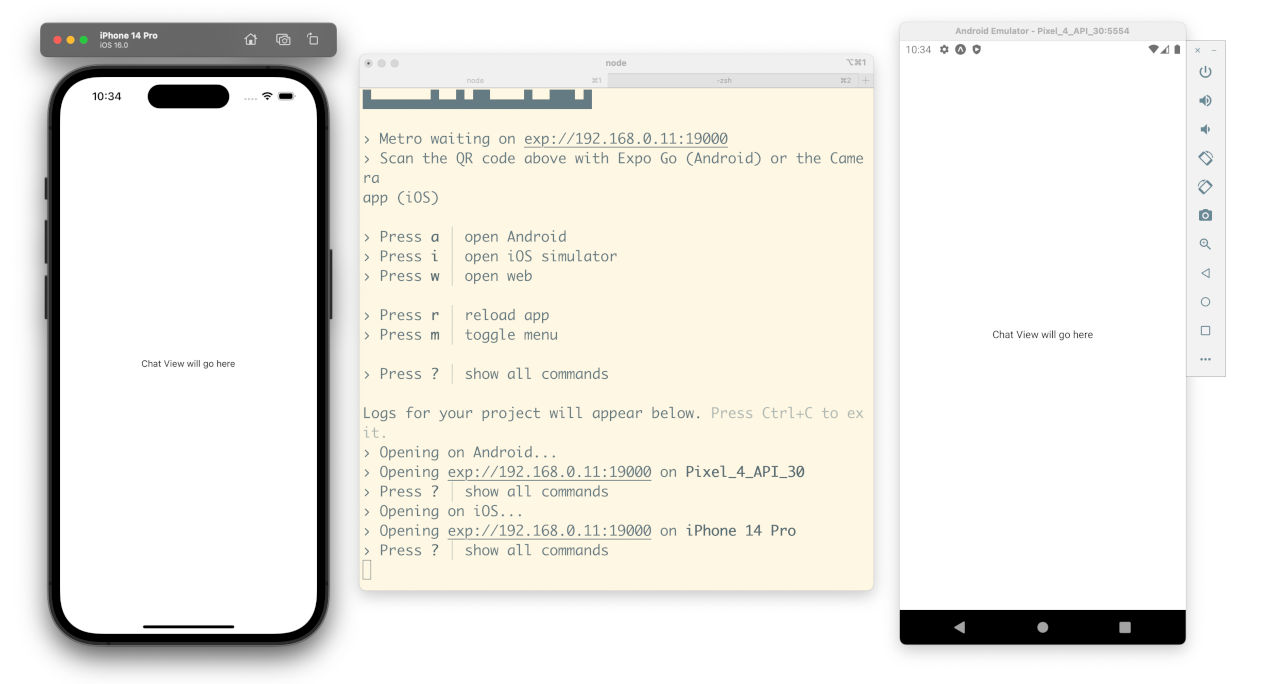
Run the application again on both Android and iOS and you should see the following:

If you have difficulties then try closing the application on the emulator/simulator and re-running it from the command line.
The structure of the application is now in place but it does not have any chat features, the next steps will add chat to the app using chat components.