APNs2 Migration Guide
PubNub's Mobile Push Notifications gateway bridges native message publishing with third-party push notification services including Apple Push Notification service (APNs) and Firebase Cloud Messaging (FCM).
Apple ended support for the legacy binary APNs protocol on March 31, 2021 (see the Apple announcement). You now use the HTTP/2 APIs. If you use PubNub to deliver mobile push notifications to Apple devices, your users aren't impacted.
PubNub already updated our infrastructure. If your application uses APNs1 certificates with PubNub, we continue to process your requests. We recommend migrating to APNs2. This guide shows how to complete the migration.
Applicable to APNs1 only
This guide is only applicable to existing customers using APNs1 certificates. If you already use APNs2 token-based mobile push notifications, no action is required.
What's new in APNs2
PubNub supports PushKit APNs and VoIP mobile push notifications with APNs2. The service uses a token signing key from your account to sign requests to Apple's HTTP/2 APIs.
Support for APNs2 comes with the following changes:
-
New data model for tracking Apple push configuration information for keysets. To use this, you must reconfigure your keys.
-
New device registration API. To use this, you must update your client applications with the new SDK API methods.
-
Updated payload structure. To use Apple's HTTP/2 push API, you must either update all applications that have push-related publishes, or create a PubNub Function to augment the data with the new structure.
Migration steps
Follow these steps to migrate to APNs2.
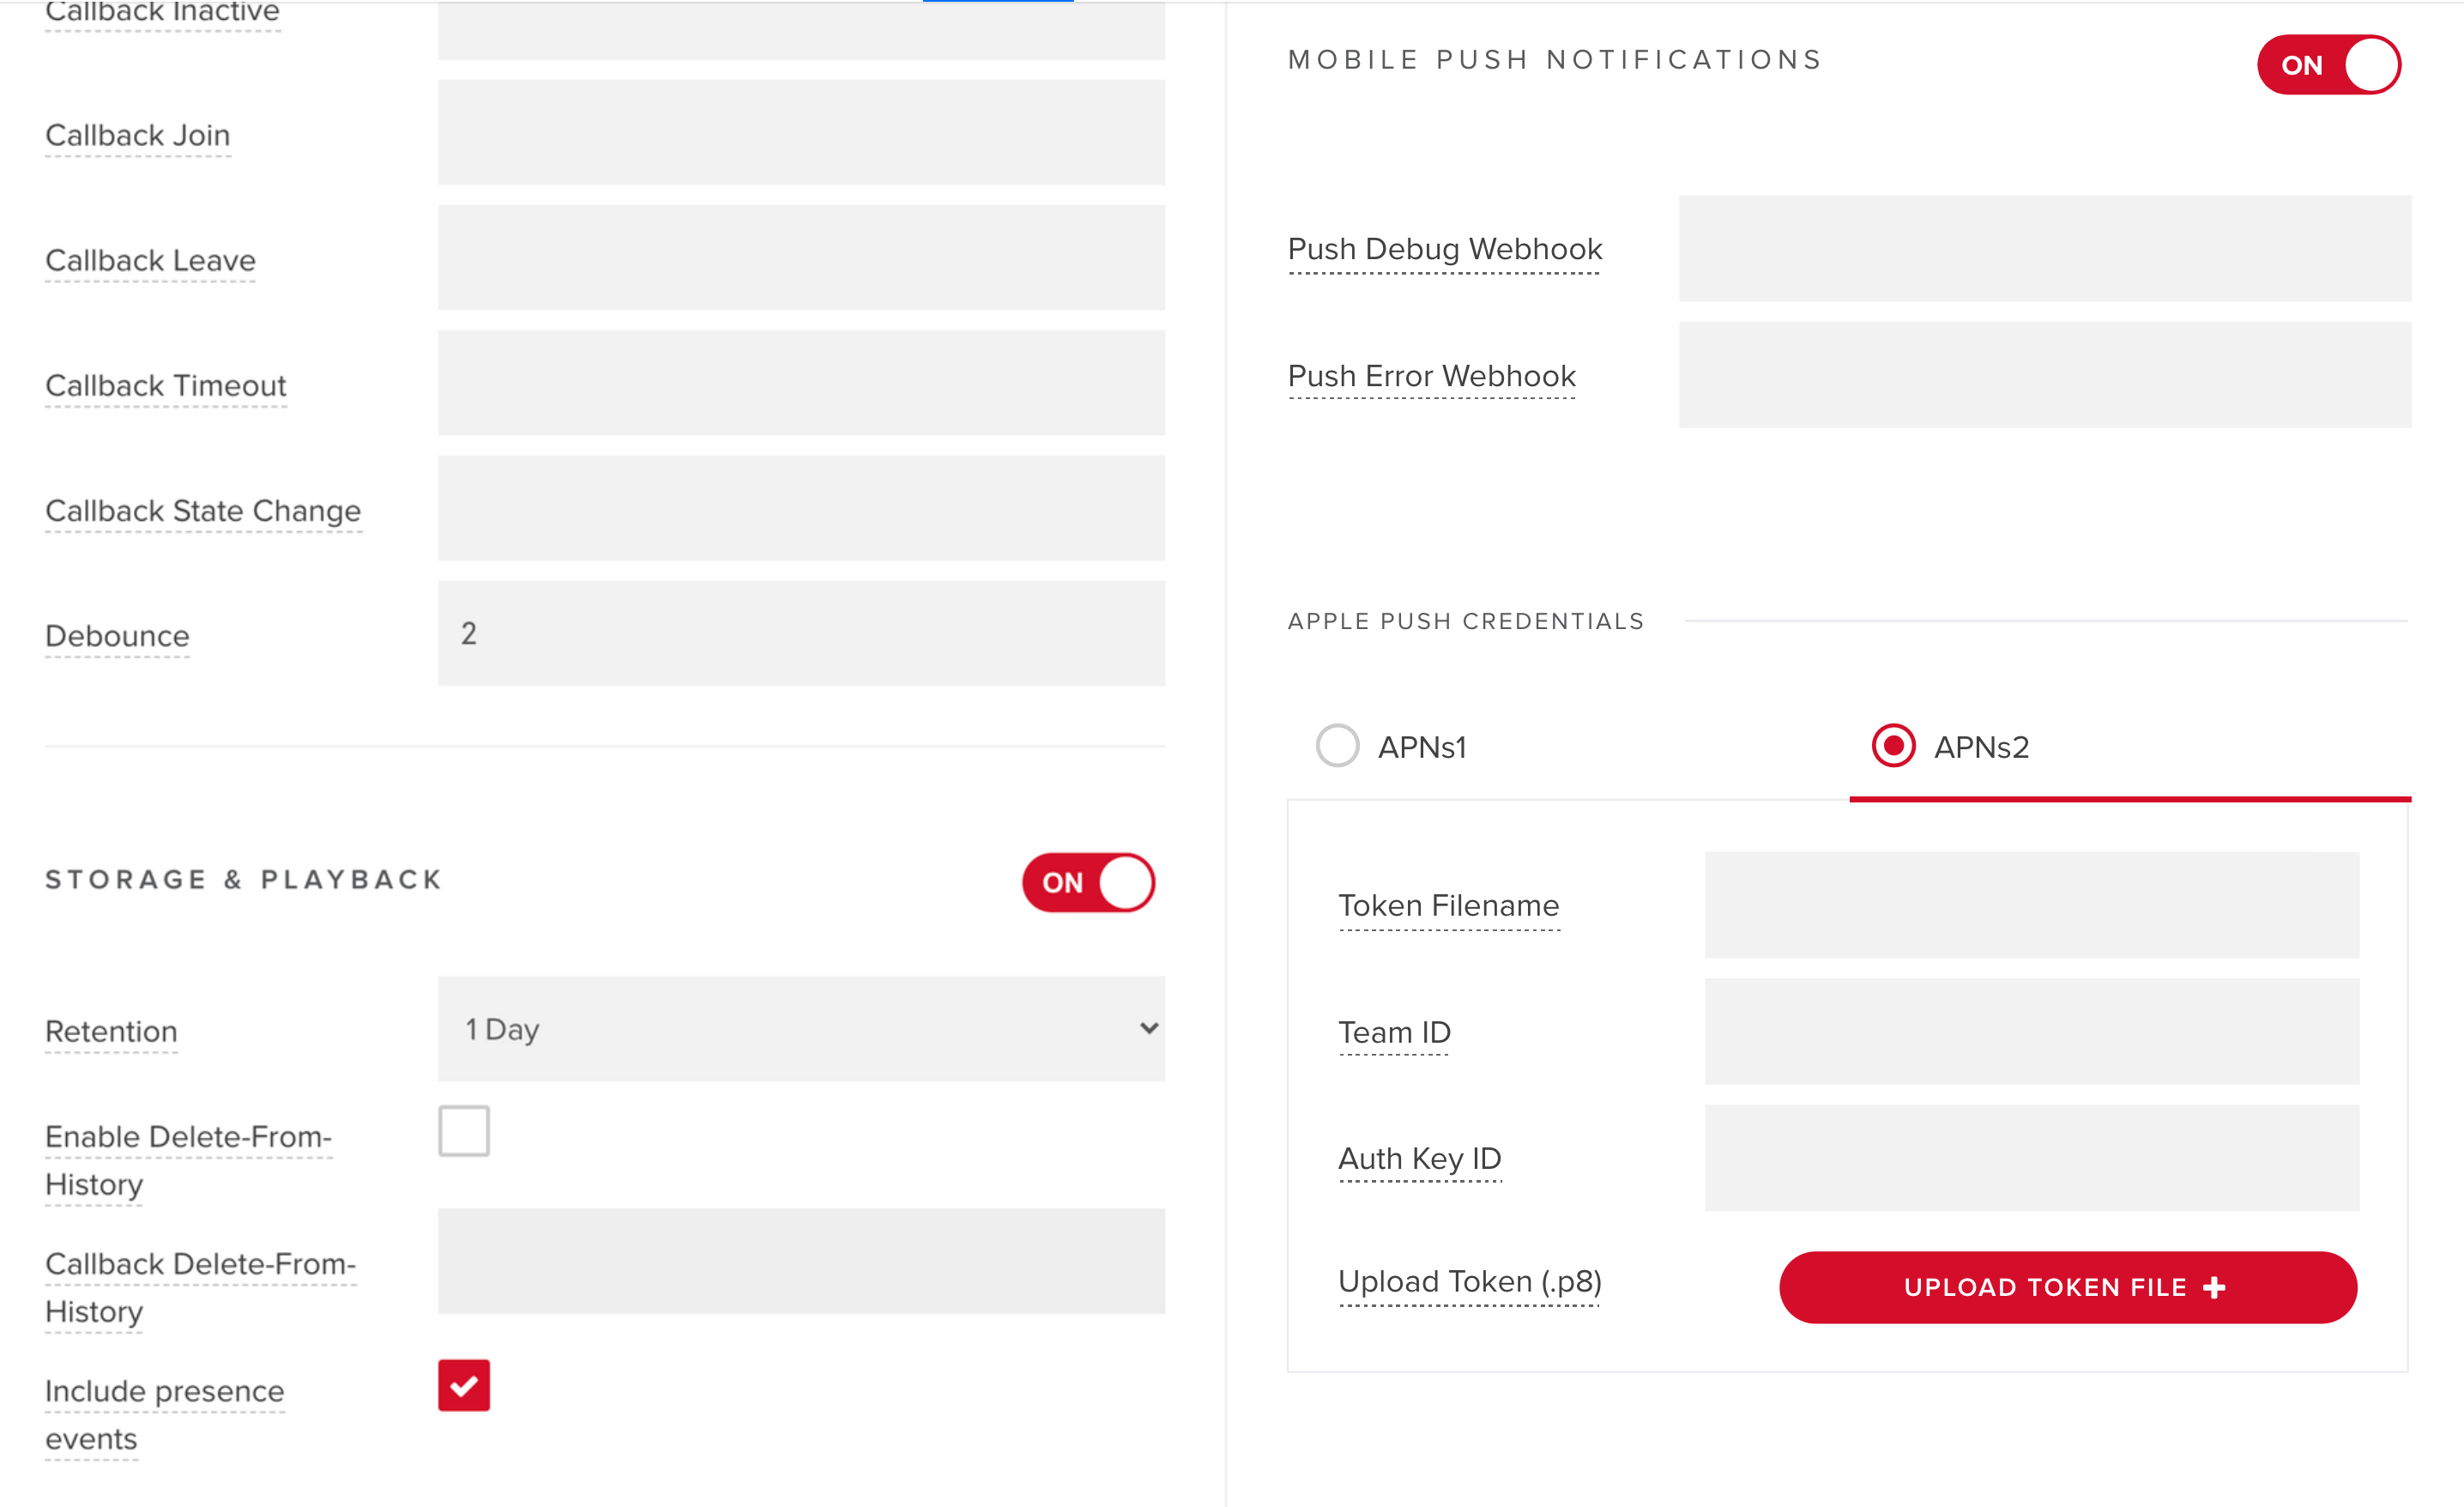
Step 1: Configure APNs2 settings on your key
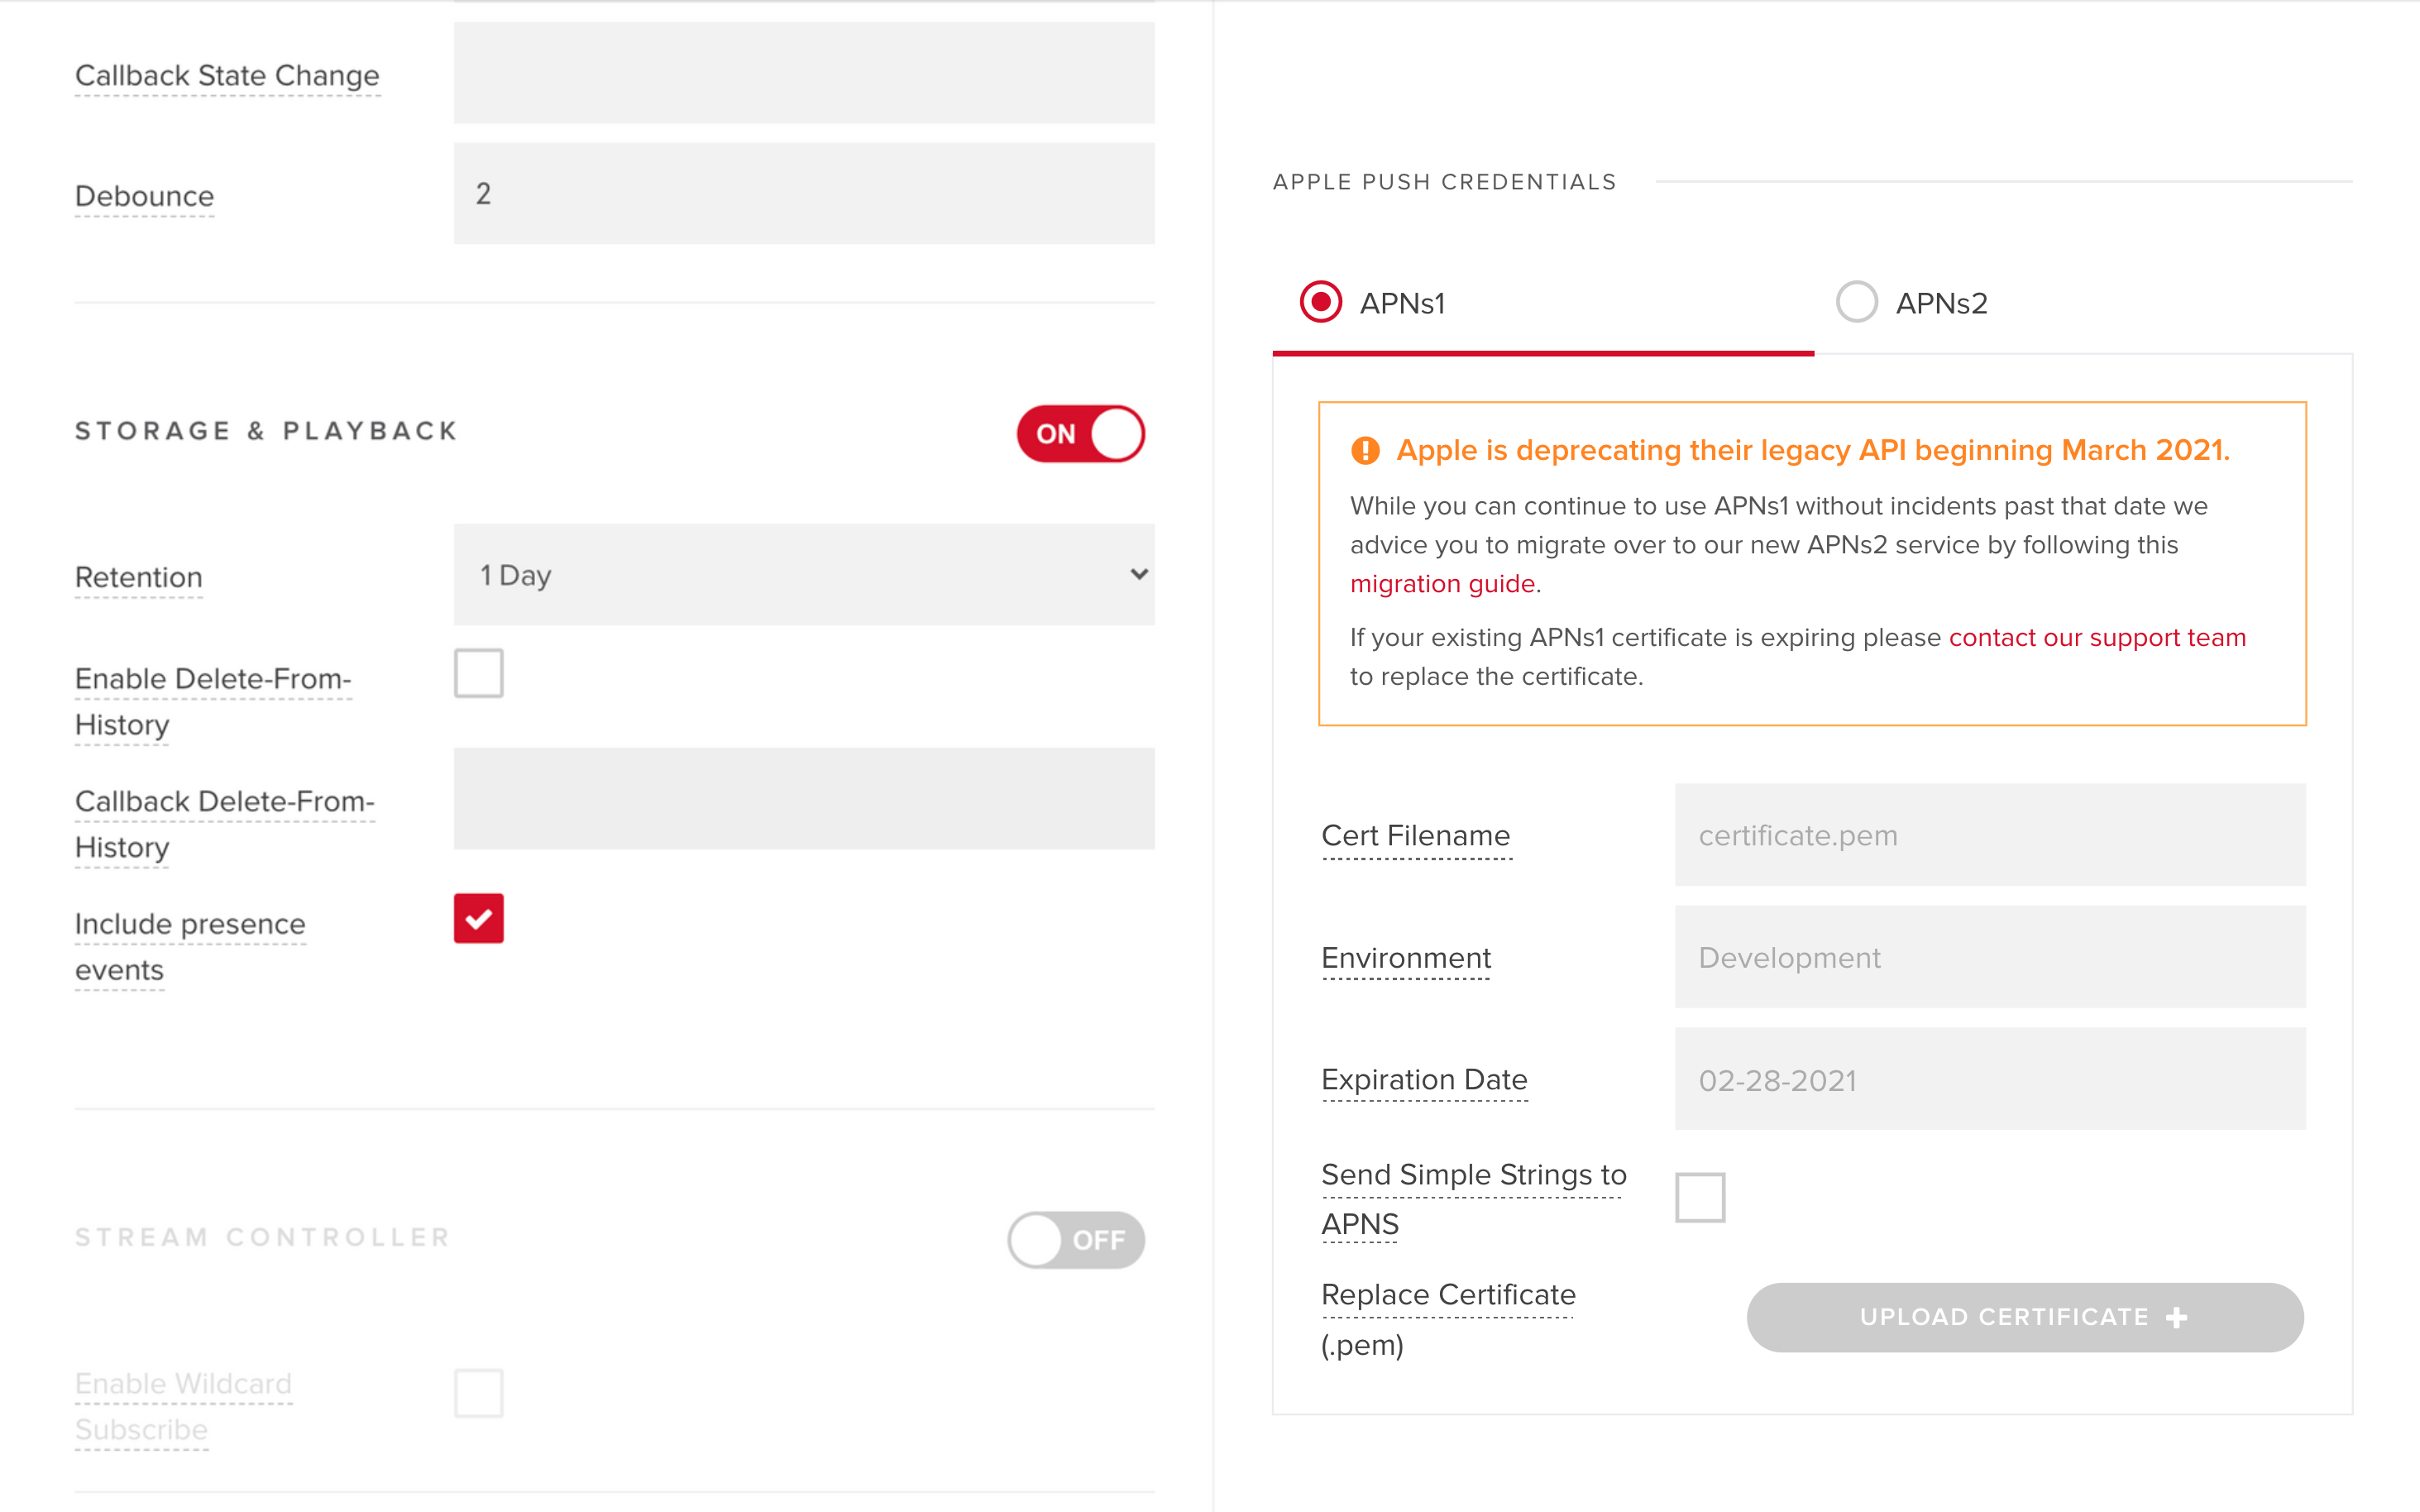
On the Admin Portal, open Key Options to configure APNs2 on your keys. Keys support dual mode. You can specify both an APNs1 certificate and an APNs2 token on the same key. You can also create a new key. New keys are automatically set to work with APNs2.
If your keys don't show APNs2 token upload settings, contact PubNub Support.
Old APNs1 settings
Your key should already be set up with a certificate for APNs1 mobile push notifications. You don't need to change this configuration while you transition to the new service.
New APNs2 settings
Follow these steps to configure APNs2 settings on your key:
-
Log in to your Apple Developer account and obtain a valid authentication token signing key (
.p8file extension). Refer to the Apple Developer documentation for more information on how to register your app and obtain a signing key. -
On the Admin Portal, go to the Mobile Push Notifications section on the Key Options page.
-
Select the APNs2 tab and click Upload Token File to upload the authentication token signing key. The remaining fields are populated automatically.
Step 2: Add new channel registrations for devices
Add channel registrations so devices use APNs2 notifications. Upgrade to the latest SDK version. Use the code sample to add the environment and topic parameters when you add a device to one or more channels. Also set pushGateway to apns2 so the device uses the APNs2 gateway. If you perform this operation on a server, update your server code.
SDK versions
Make sure your SDK supports APNs2. For JavaScript, you need SDK v4.27.3 or higher; for Swift, v2.3.0 or higher; and for Objective-C, v4.12.0 or higher. Earlier versions don't support APNs2. If you're using one of our other SDKs, check the SDK's changelog.
Old APNs1 methods
- JavaScript
- Swift
- Objective-C
1pubnub.push.addChannels({
2        channels: ['ch1', 'ch2'],
3        device: 'deviceToken',
4        pushGateway: 'apns'
5    },
6    function(status) {
7        if (status.error) {
8            console.log("operation failed w/ error:", status);
9        } else {
10            console.log("operation done!")
11        }
12    }
13);
1pubnub.addPushChannelRegistrations(
2  ["channelSwift"],
3  for: deviceToken
4) { result in
5  switch result {
6  case let .success(channels):
7    print("The list of channels added for push: \(channels)")
8  case let .failure(error):
9    print("Failed Push Modification Response: \(error.localizedDescription)")
10  }
11}
1[self.client addPushNotificationsOnChannels:@[@"wwdc",@"google.io"]
2                        withDevicePushToken:self.devicePushToken
3                                   pushType:PNAPNSPush
4                              andCompletion:^(PNAcknowledgmentStatus *status) {
5    if (!status.isError) {
6    } else {
7    }
8}];
New APNs2 methods
- JavaScript
- Swift
- Objective-C
1pubnub.push.addChannels(
2  {
3    channels: ['ch1', 'ch2'],
4    device: 'deviceToken',
5    pushGateway: 'apns2',
6    environment: 'production', // required for APNs2
7    topic: 'com.mycompany.mybundleid' // required for APNs2
8  },
9  function(status) {
10    console.log(status);
11  }
12);
1pubnub.modifyAPNSDevicesOnChannels(
2  byRemoving: [],
3  thenAdding: ["ch1", "ch2"],
4  device: deviceToken,
5  on: "com.mycompany.mybundleid",
6  environment: .production
7 ) { result in
8  switch result {
9    case let .success(response):
10      print("Successful Push Modification Response: \(response)")
11

12    case let .failure(error):
13      print("Failed Push List Response: \(error.localizedDescription)")
14  }
15}
1[self.client addPushNotificationsOnChannels:@[@"wwdc",@"google.io"]
2                        withDevicePushToken:self.devicePushToken
3                                   pushType:PNAPNS2Push
4                                environment:PNAPNSProduction
5                                      topic:@"com.my-application.bundle"
6                              andCompletion:^(PNAcknowledgmentStatus *status) {
7    if (!status.isError) {
8    } else {
9    }
10}];
Step 3: Verify the new registrations
After you add device registrations, confirm the APNs2 registrations by listing the channels for the device’s device token (deviceToken). The following code returns the list of channels.
- JavaScript
- Swift
- Objective-C
1pubnub.push.listChannels(
2  {
3    device: deviceToken,
4    pushGateway: 'apns2',
5    topic: 'com.mycompany.mybundleid',
6    environment: 'production'
7  },
8  function(status) {
9    console.log(status);
10  }
11);
1pubnub.listAPNSPushChannelRegistrations(for: deviceToken, on: "com.app.bundle", environment: .production) { result in
2  switch result {
3  case let .success(response):
4    print("Successful Push List Response: \(response)")
5  case let .failure(error):
6    print("Failed Push List Response: \(error.localizedDescription)")
7  }
8}
1[self.client pushNotificationEnabledChannelsForDeviceWithPushToken:self.devicePushToken
2                         pushType:PNAPNS2Push
3                      environment:PNAPNSDevelopment
4                            topic:@"com.my-application.bundle"
5                    andCompletion:^(PNAPNSEnabledChannelsResult *result, PNErrorStatus *status)
6                    {
7    if (!status.isError) {
8        // Handle downloaded list of channels using: result.data.channels
9    } else {
10    }
11}];
Step 4: Add push payload to messages
APNs2 requires additional fields in the message payload. PubNub can deliver both APNs1 and APNs2 notifications with the same message. Include the required APNs2 fields in the message. APNs1 payloads go to APNs1 devices on the channel, and APNs2 payloads go to APNs2 devices on the channel.
To support APNs2, structure your payload as follows. You don't need to change the underlying publish method. The method sends the message to PubNub with the push payload.
The pn_apns payload consists of:
1{
2  "pn_apns": {
3    "aps": {
4        // necessary items
5    },
6    "pn_push": {
7       // necessary items
8    },
9  "pn_debug": true,
10  "pn_ttl": 60
11}
aps
The aps dictionary contains the keys Apple uses to deliver the notification to the user's device. The keys specify the type of interactions the system uses when alerting the user. Refer to the Apple Developer documentation for more information.
pn_push
The pn_push object contains the configuration of the push message.
| Key | Type | Required | Default | Description |
|---|---|---|---|---|
push_type | String | No | alert | Available values: alert, background, voip, complication, fileprovider, or mdm. Refer to apns_push_type in the Apple Developer documentation for more information. |
auth_method | String | No | token | Available values: token, cert, or certificate |
targets:environment | String | No | development | Apple environment for the certificate associated with the PubNub key-set in use. Available values: development or production. |
targets:topic | String | Yes | Bundle ID of your target application | |
targets:excluded_devices | [String] | No | A list of device tokens that should be excluded from receiving the notification. Typically, you can add your own device so you don't get a notification you publish. | |
version | String | Yes | Set to v2. | |
pn_collapse_id | String | No | An identifier to join multiple notifications into a single notification. |
Additional parameters
| Key | Type | Required | Description |
|---|---|---|---|
pn_debug | boolean | No | A flag that enables publishing push debugging info to the pndebug channel. For more information, refer to Mobile Push Troubleshooting. |
pn_ttl | int | No | A PubNub push property. It represents the number of seconds the notification is valid for from the time the notification is published to PubNub until the push server processes the publish. This flag only determines if PubNub forwards the notification to APNS, there is no consideration of a user device state. The default value for this parameter is 3600 seconds (1 hour). You don't have to set it if you provide expirationDate (used in an APNS POST request as the apns-expiration header value) in the push notification configuration. |
Old APNs1 message payload
1{
2   "text":"hello world",
3   "pn_apns":{
4      "aps":{
5         "alert":"hello world",
6      }
7   }
8}
New APNs2 message payload
1{
2 "text":"hello world",
3 "pn_apns":{
4 "aps":{
5 "alert":"hello world"
6 },
7 "pn_push":[
8 {
9 "push_type": "alert",
10 "auth_method": "token",
11 "targets":[
12 {
13 "environment":"production",
14 "topic":"bundle_id"
15 }
Push payload using Functions
If you're unable to modify the message payload on client apps you can also trigger serverless logic using Functions. The function will add the additional APNs2 fields in the message before it is published so you don't have to update your client app. For more information, refer to the sample Function code.
- JavaScript
- Swift
- Objective-C
1//publish on channel
2pubnub.publish(
3  {
4    channel: 'ch1'
5    message: payload
6  },
7  function (status, response) {
8    console.log(status);
9  }
10);
1pubnub.publish(
2  channel: "ch1",
3  message: payload
4) { result in
5  switch result {
6    case let .success(response):
7      print("Successful Response: \(response)")
8

9    case let .failure(error):
10      print("Failed Response: \(error.localizedDescription)")
11  }
12}
1self.client publish:nil toChannel:channel mobilePushPayload: payloads
2      withCompletion:^(PNPublishStatus *status) {
3    if (!status.isError) {
4    }
5    else {
6    }
7}];
Step 5: Remove old channel registrations for devices
Finally, remove old APNs1 device registrations from channels. This avoids duplicate notifications. The sample code shows how to remove device registrations from the apns gateway. You can perform this operation from your server instead of the client applications.
- JavaScript
- Swift
- Objective-C
1pubnub.push.removeChannels({
2        channels: ['ch1', 'ch2'],
3        device: 'deviceToken',
4        pushGateway: 'apns'
5    },
6    function(status) {
7        if (status.error) {
8            console.log("operation failed w/ error:", status);
9        } else {
10            console.log("operation done!")
11        }
12    }
13);
1pubnub.removePushChannelRegistrations(
2  ["channelSwift"],
3  for: deviceToken
4) { result in
5  switch result {
6  case let .success(channels):
7    print("The list of channels added for push: \(channels)")
8  case let .failure(error):
9    print("Failed Push Modification Response: \(error.localizedDescription)")
10  }
11}
1[self.client removePushNotificationsFromChannels:@[@"wwdc",@"google.io"]
2                        withDevicePushToken:self.devicePushToken
3                                   pushType:PNAPNSPush
4                              andCompletion:^(PNAcknowledgmentStatus *status) {
5    if (!status.isError) {
6    } else {
7    }
8}];
Debug mobile push notifications
Inspect messages published to a {channelName}-pndebug channel to troubleshoot push notification issues. For example, if you publish on ch1, the debug channel is ch1-pndebug. Subscribe using the PubNub Debug Console to investigate issues such as invalid device tokens or invalid push payloads. For more information, refer to Mobile Push Troubleshooting.